Free Downlods CapCut - Video Editor v11.8.0 b11800300 Premium
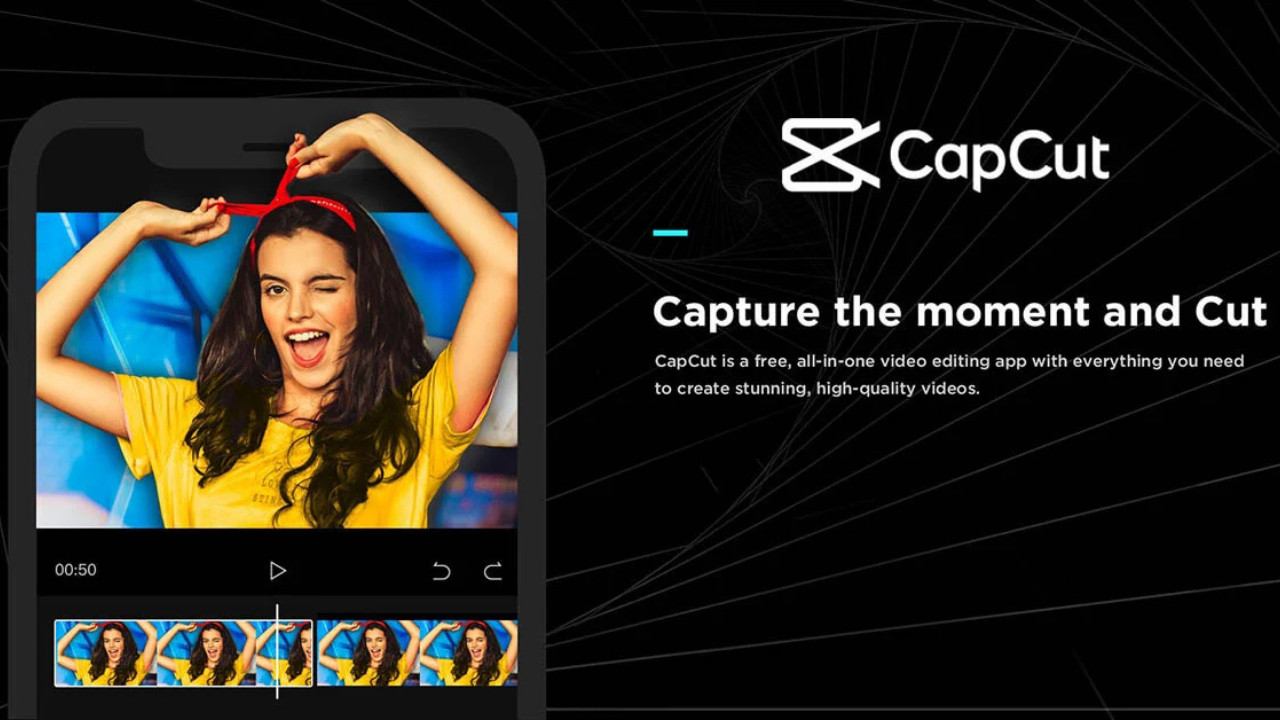
CapCut - Video Editor v11.8.0 b11800300 Premium is a powerful video editing app for both beginners and professionals. It offers advanced tools for creating high-quality video content with ease, featuring a variety of editing options like filters, effects, transitions, and text tools to enhance your videos for social media and personal projects
CapCut - Video Editor v11.8.0 b11800300 Premium is a powerful video editing app for both beginners and professionals. It offers advanced tools for creating high-quality video content with ease, featuring a variety of editing options like filters, effects, transitions, and text tools to enhance your videos for social media and personal projects.
Step-by-Step Guide to Using CapCut v11.8.0 Premium
1. Download and Install CapCut v11.8.0
- For Android:
- Go to the Google Play Store and search for CapCut.
- Find CapCut - Video Editor and click Install. Once the download is complete, open the app.
- For iOS:
- Open the App Store on your device.
- Search for CapCut - Video Editor and click Get to download the app.
- After installation, open the app.
2. Sign In (If Necessary)
- You can use CapCut without signing in, but if you'd like to sync your work across devices or access premium features, it’s a good idea to sign in with your Google, Facebook, or TikTok account.
- Signing in ensures you can access your projects from any device.
3. Create a New Project
- Upon opening CapCut, click New Project to begin editing a new video.
- You’ll be prompted to select your media (videos, photos, music) from your phone's storage. Choose the files you want to work with and press Add.
4. Navigating the Interface
- The Main Workspace includes:
- Timeline: At the bottom, where you’ll arrange your clips, effects, and audio.
- Preview Window: Located above the timeline, where you can see your edits in real time.
- Toolbox: On the side or at the top, where you access editing features like filters, text, and transitions.
- Scroll through the Timeline and zoom in/out to fine-tune your edits.
5. Trim and Cut Clips
- Select a video clip in the timeline.
- Drag the handles on either side of the clip to trim or cut it to the desired length.
- You can also use the split tool to cut a video at any point and remove unwanted sections.
6. Add Transitions Between Clips
- To add a transition between two video clips, click on the small box between them in the timeline.
- Choose from a variety of transition effects (e.g., fade, slide, zoom, etc.).
- Adjust the duration of the transition by dragging its edges to make it shorter or longer.
7. Apply Filters and Effects
- Tap on the Effects button to apply visual effects to your video.
- You can add filters to give your video a unique look, such as retro, cinematic, black-and-white styles, or add motion effects like speed ramping.
- Adjust the intensity of the filter or effect using the sliders.
8. Add Text, Stickers, and Overlays
- Tap on the Text tool to add titles, captions, or labels.
- You can customize the text by changing the font, size, color, and animation (e.g., fade in, bounce).
- Add stickers or animations to make the video more dynamic. Stickers can be things like emojis, GIFs, or static images.
- For overlays, select the Overlay tool to layer one clip on top of another for picture-in-picture effects.
9. Incorporate Music and Sound Effects
- Tap the Audio button and choose from the built-in music library or import your own audio files.
- You can trim or split the audio to fit your video.
- Add sound effects to enhance the atmosphere of your video, such as background noises or transition sounds.
- Adjust the audio levels to ensure the music or sound effects aren’t too loud compared to the main audio.
10. Fine-Tune the Video (Color Grading)
- Tap on Adjust and use tools to enhance the video’s colors, such as brightness, contrast, saturation, and sharpness.
- You can adjust the temperature to make the video warmer or cooler.
- Use curve adjustments for precise color grading.
11. Use Keyframe Animations
- Keyframes allow you to animate any property of your clip, like position, scale, rotation, or opacity.
- Set keyframes at different points in time to create animations, such as making text move across the screen or zooming in on a specific part of your video.
12. Export Your Video
- Once you’re happy with your edits, tap Export to save your video.
- Choose the resolution (e.g., 1080p, 4K) and frame rate (usually 30 fps or 60 fps).
- Select the output location (e.g., save to your device or share directly to platforms like TikTok, Instagram, or YouTube).
- Tap Export and wait for the video to render.
13. Share Your Video
- After exporting, you can easily share your video on social media platforms like TikTok, Instagram, or Facebook.
- CapCut allows you to directly share your final project without needing to leave the app.
14. Use Premium Features (Optional)
- If you’ve subscribed to the Premium version, you’ll have access to additional features such as:
- Extra filters, transitions, and effects.
- Remove watermark for a cleaner, more professional look.
- Enhanced access to music tracks, sound effects, and sticker packs.
Conclusion
CapCut v11.8.0 Premium is a versatile and user-friendly video editing app that brings advanced features to your fingertips. Whether you are creating social media videos, tutorials, or just editing for fun, CapCut offers a range of tools like transitions, effects, keyframes, and audio options to help you produce high-quality content.
With an easy-to-navigate interface and powerful editing tools, CapCut has become one of the most popular mobile video editors. Follow the steps above to get started, and you'll be creating polished, professional-looking videos in no time.