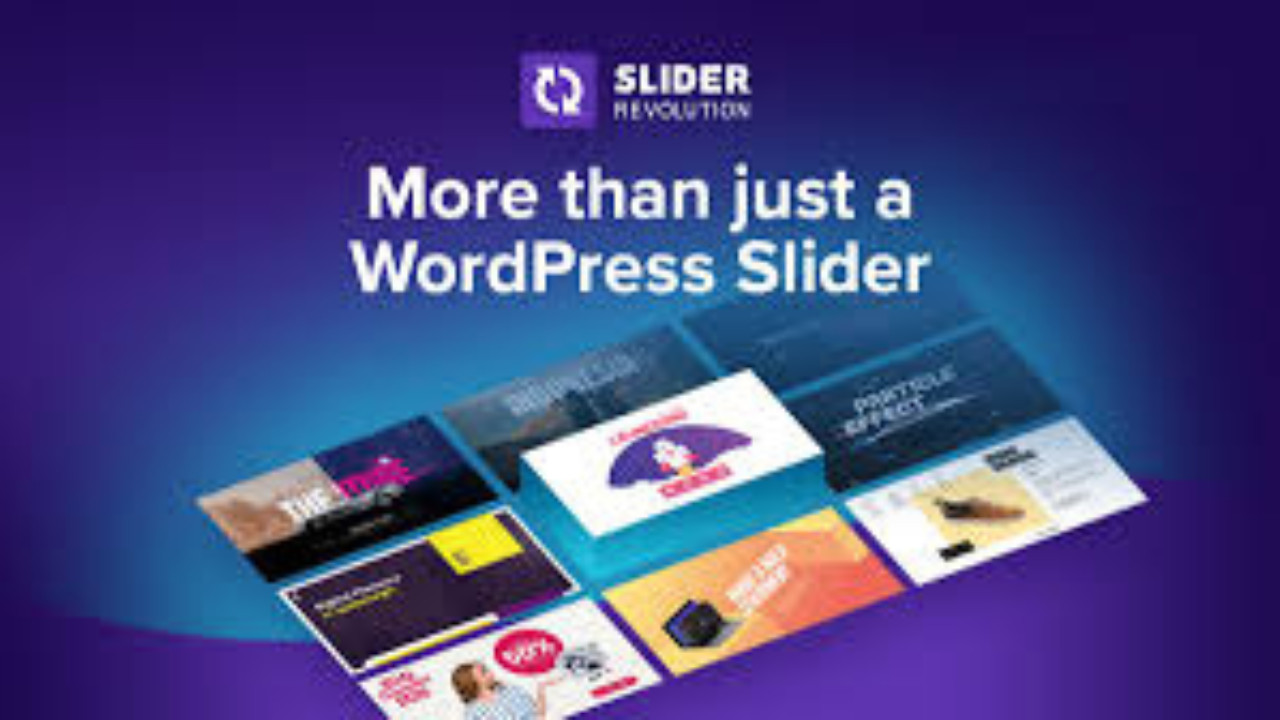
Free Download WordPress Revslider Plugin

This versatile WordPress plugin helps beginner-and mid-level designers WOW their clients with pro-level visuals. You'll be able to create anything you can imagine, not just amazing, responsive sliders: Stunning visual elements such as sliders & carousels.
WordPress Revolution Slider (RevSlider) Plugin: A Comprehensive Guide
The Revolution Slider, also known as RevSlider, is one of the most popular and versatile slider plugins for WordPress. With its user-friendly interface and powerful features, it allows you to create stunning and responsive sliders, carousels, and dynamic content displays with ease. Whether you’re a beginner or a professional developer, RevSlider provides everything you need to add beautiful, interactive slideshows to your website.
What is Revolution Slider (RevSlider)?
RevSlider is a premium WordPress plugin that enables you to create visually appealing sliders and slideshows for your website. It’s not just about simple image sliders—RevSlider offers advanced functionality, allowing users to create rich media sliders that include text, video, animations, and dynamic content. The plugin’s flexibility and power make it suitable for a wide range of websites, from simple blogs to complex business or eCommerce sites.
Key Features of Revolution Slider
Drag-and-Drop Editor:
- One of the standout features of RevSlider is its easy-to-use drag-and-drop editor. You can build stunning sliders without any coding knowledge. Simply add slides, images, and layers to create your unique presentation.
Responsive Design:
- Revolution Slider is fully responsive, ensuring that your sliders look great on all devices, from desktops to mobile phones and tablets. This is essential for modern websites where mobile traffic is becoming increasingly important.
Layered Content:
- RevSlider allows you to add multiple layers to each slide. You can combine images, text, buttons, videos, and other content on each slide, making your presentation dynamic and engaging.
Animation Effects:
- With RevSlider, you can apply smooth animation effects to each layer, as well as transitions between slides. This gives you the ability to create eye-catching slideshows with various effects like fades, zooms, and 3D transitions.
Video Support:
- You can incorporate YouTube and Vimeo videos into your slides. You can also upload videos directly to your WordPress site. This feature allows you to create rich multimedia presentations for your audience.
Pre-built Templates:
- Revolution Slider comes with a large collection of professionally designed templates that you can use and customize. These templates cover various industries and design styles, making it easy to find one that suits your website’s theme.
SEO-Friendly:
- The plugin is optimized for SEO, meaning it won’t negatively impact your site’s search engine rankings. It allows you to add alt text, titles, and descriptions to each slide, improving accessibility and SEO.
Touch and Swipe Navigation:
- Revolution Slider supports touch and swipe navigation, which is crucial for providing a seamless experience for mobile and tablet users. Visitors can easily navigate through slides using touch gestures.
Multi-Slide Types:
- You can create different types of sliders, such as full-width sliders, boxed sliders, carousels, and hero sections, giving you complete control over how the content is displayed on your website.
Advanced Timing & Scheduling:
- You can schedule slides to appear or disappear based on specific dates and times, or set slide durations and intervals. This gives you the flexibility to show time-sensitive content.
Customizable Navigation:
- RevSlider allows you to fully customize your slider’s navigation buttons, arrows, and pagination. You can choose from a variety of pre-set styles or create your own custom navigation design.
Import/Export Functionality:
- You can easily export your sliders and import them into other WordPress sites. This feature is helpful when you need to transfer sliders between different websites or projects.
WooCommerce Integration:
- For WooCommerce-powered websites, Revolution Slider offers integration with product sliders. You can display your products in stylish sliders, showcasing items in a dynamic, engaging way.
Why Use Revolution Slider?
Enhance User Engagement:
- With its visually appealing designs, animations, and multimedia content, Revolution Slider helps keep your visitors engaged. This is essential for reducing bounce rates and increasing time spent on your site.
Increase Conversions:
- Whether you're promoting a special offer, product, or service, RevSlider helps you grab your visitor’s attention with compelling visuals. The ability to add call-to-action buttons and links to slides can also boost conversions and sales.
Customization Flexibility:
- RevSlider gives you full creative control over the design and functionality of your sliders. You can easily customize colors, fonts, transitions, and more to match your site’s branding.
Easy to Use, Powerful Features:
- Despite its advanced functionality, Revolution Slider is beginner-friendly. The intuitive drag-and-drop interface and the wealth of tutorials and documentation make it easy for anyone to get started, while advanced users can tap into its full potential.
How to Set Up Revolution Slider in WordPress
Install and Activate the Plugin:
- To start using Revolution Slider, purchase and download the plugin from the official website or from your WordPress admin dashboard. After installation, activate the plugin on your WordPress site.
Create a New Slider:
- Once activated, you can go to the RevSlider dashboard and click the “Create New Slider” button. You’ll then be prompted to choose your slider’s settings, such as dimensions, layout, and behavior.
Add Slides and Layers:
- After creating your slider, you can add slides by uploading images or videos. You can also add various layers (text, buttons, etc.) and apply animations to them.
Customize the Design:
- Customize your slider's appearance by adjusting fonts, colors, borders, and other design elements. You can also choose from pre-built templates to jump-start your design process.
Configure Navigation and Settings:
- Adjust the slider’s navigation options, such as arrows, dots, or custom buttons. Set slide timing, transitions, and any other settings that match your desired outcome.
Publish and Display Your Slider:
- After configuring your slider, you can embed it anywhere on your site. You can add it to a page, post, or widget area using shortcodes or the built-in block editor.