Free Download WordPress Bazar-Multipurpose-Ecommerece Template
The WordPress Bazar Multipurpose eCommerce Template is a highly flexible and visually appealing theme, ideal for creating online stores across various niches such as fashion, electronics, and accessories. With powerful customization options, responsive design, and seamless WooCommerce integration, it provides a complete solution for building a successful online business.
Introduction to the WordPress Bazar Multipurpose eCommerce Template
The WordPress Bazar Multipurpose eCommerce Template is a highly flexible and visually appealing theme, ideal for creating online stores across various niches such as fashion, electronics, and accessories. With powerful customization options, responsive design, and seamless WooCommerce integration, it provides a complete solution for building a successful online business.
Outcome: Step-by-Step Guide to Using the WordPress Bazar Multipurpose eCommerce Template
Understanding the WordPress Bazar Multipurpose eCommerce Template
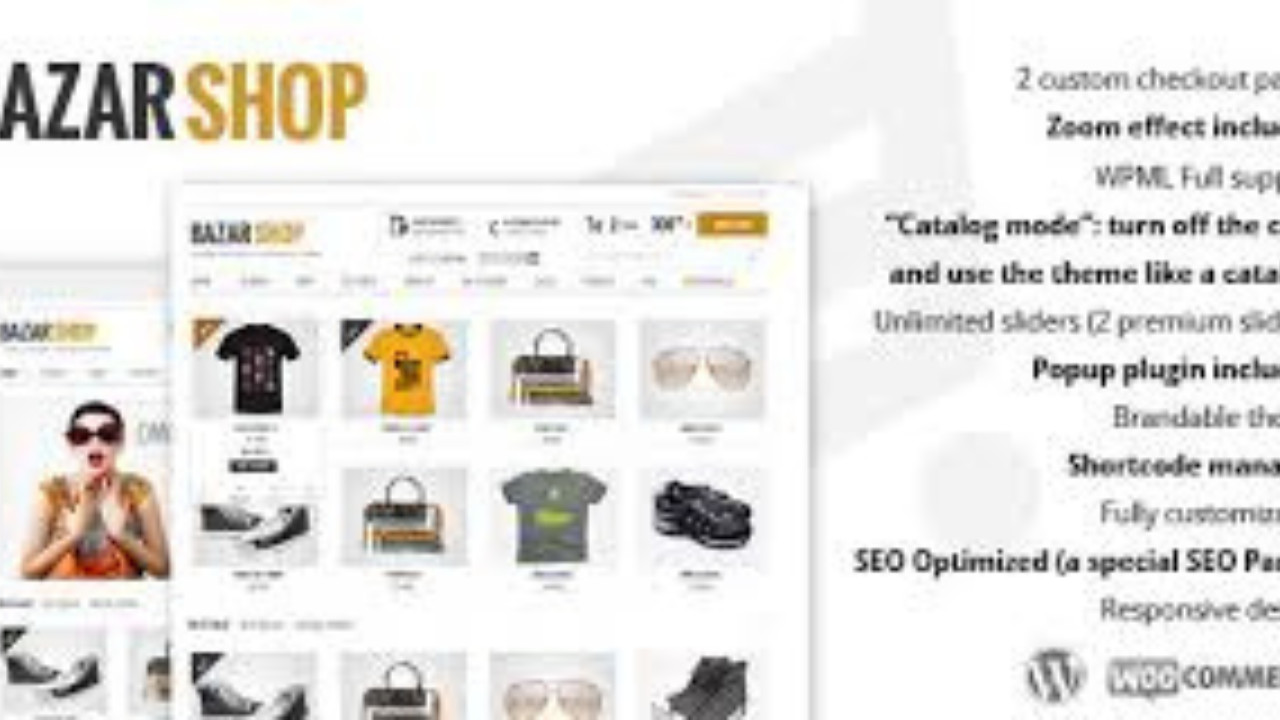
What is the WordPress Bazar Template?
The WordPress Bazar Multipurpose eCommerce Template is a robust and versatile theme built for WordPress users who want to launch an online store. Whether you’re selling fashion, electronics, furniture, or any other product, Bazar provides the tools and flexibility needed to create an eye-catching and functional eCommerce site. The template is optimized for mobile use, integrates easily with WooCommerce for product management, and offers powerful customization options for the layout and design.Key Features of the Bazar Template:
- WooCommerce Integration: Built to work seamlessly with WooCommerce, enabling full eCommerce functionality such as product listings, order management, payment gateways, and more.
- Fully Responsive Design: The template is mobile-optimized, ensuring that your site looks and performs well on all devices, from desktop computers to smartphones and tablets.
- Variety of Demo Layouts: The Bazar template comes with multiple pre-designed demos for different types of eCommerce stores. You can import these demos with just one click and customize them to fit your store's needs.
- Drag-and-Drop Builder: The theme is compatible with page builders such as Elementor, which allows you to design custom pages using a drag-and-drop interface without needing to write any code.
- Advanced Product Filters: Customers can search for products based on categories, price, brand, and other filters, improving the shopping experience.
- SEO Optimized: The theme is built with SEO best practices in mind, ensuring that your products rank well in search engines, bringing more traffic to your site.
- Fast Loading Speed: The Bazar template is optimized for fast loading times, reducing bounce rates and improving overall user experience.
- Regular Updates and Support: The template comes with regular updates and support to ensure your site remains secure, fast, and functional.
Installing the WordPress Bazar Multipurpose eCommerce Template
- Step 1: Purchase and Download the Template
- The first step is to purchase the Bazar Multipurpose eCommerce Template from a trusted marketplace, such as ThemeForest. Once you’ve completed the purchase, download the zip file that contains the template.
- Step 2: Install the Template
- Log in to your WordPress admin dashboard and navigate to
Appearance>Themes>Add New. - Click on
Upload Theme, select the downloaded zip file, and click “Install Now.” - Once the installation is complete, click on “Activate” to make the template live on your website.
- Log in to your WordPress admin dashboard and navigate to
- Step 1: Purchase and Download the Template
Setting Up the Demo Content
- Step 1: Install Required Plugins
- After activating the theme, you will be prompted to install several required plugins. These may include WooCommerce for product management, Elementor for page building, and other plugins recommended by the template.
- Go to
Plugins>Add New, search for the required plugins, and install them.
- Step 2: Import Demo Content
- To quickly set up your store, you can import demo content. Navigate to
Appearance>Bazar Demo Import, and click on the “Import Demo Data” button. This will populate your site with sample products, layouts, and design settings, making it easy to get started.
- To quickly set up your store, you can import demo content. Navigate to
- Step 1: Install Required Plugins
Customizing the Bazar Template
- Step 1: General Customization Settings
- Go to
Appearance>Customizeto access the WordPress Customizer. Here, you can change general settings such as your logo, tagline, color scheme, and typography. This allows you to match the store's design to your brand identity. - Upload your store’s logo and set a color palette that aligns with your brand or product range.
- Go to
- Step 2: Customizing the Homepage with Elementor
- Use Elementor’s drag-and-drop builder to customize your homepage. You can add sections like featured products, testimonials, promotional banners, and more.
- Elementor also allows you to easily create custom product grids, category sections, and call-to-action buttons, which are essential for driving conversions.
- Step 1: General Customization Settings
Setting Up WooCommerce for Product Management
- Step 1: Configure WooCommerce Settings
- Navigate to
WooCommerce>Settingsto set up the basic configuration for your store, including currency, payment gateways (PayPal, Stripe, etc.), shipping options, and tax rates. - Configure your store's address, business hours, and other essential details.
- Navigate to
- Step 2: Adding Products
- To add products, go to
Products>Add New. You can categorize products into different sections such as Men’s Clothing, Women’s Fashion, Electronics, etc. - Add product images, detailed descriptions, pricing, and stock status. Additionally, you can set up product variations such as size, color, and quantity.
- To add products, go to
- Step 1: Configure WooCommerce Settings
Creating and Managing Product Pages
- Step 1: Product Page Design
- The Bazar template provides multiple layout options for your product pages. You can choose to showcase products in a grid layout, list view, or with detailed information such as specifications and reviews.
- Use Elementor to customize individual product pages by adding galleries, sliders, and other design elements to make your products stand out.
- Step 2: Product Attributes and Variations
- If your products come in different variations (e.g., sizes, colors, or styles), you can set them up under
Product Datain the WooCommerce product editor. - This will enable customers to choose their preferred options before adding items to their cart.
- If your products come in different variations (e.g., sizes, colors, or styles), you can set them up under
- Step 1: Product Page Design
Configuring the Shopping Cart and Checkout Process
- Step 1: Customize the Cart Page
- Customize the shopping cart page to display the items customers have added, along with options to edit quantities or remove products.
- Make sure the cart page is easy to navigate, with clear pricing, taxes, and shipping details visible.
- Step 2: Streamline the Checkout Process
- Go to
WooCommerce>Settings>Checkoutto configure the checkout options. The Bazar template offers a simplified checkout process that allows customers to enter their details and make payments quickly. - You can also offer guest checkout for customers who don’t wish to create an account.
- Go to
- Step 1: Customize the Cart Page
Enhancing User Experience (UX)
- Step 1: Mobile Optimization
- The Bazar template is responsive by default, meaning it automatically adapts to mobile and tablet devices. However, it’s important to test your store on different devices to ensure that images, text, and layout adjust accordingly.
- Step 2: Improve Navigation
- Simplify the navigation by setting up categories in your menu. This allows customers to quickly browse the products that interest them.
- Use sticky headers or mega menus to showcase important product categories and offers at the top of the page.
- Step 1: Mobile Optimization
SEO Optimization
- Step 1: Install an SEO Plugin
- To help your products rank higher in search engines, install an SEO plugin like Yoast SEO or Rank Math.
- Ensure your product titles, descriptions, and images are optimized for relevant keywords to improve your store’s visibility.
- Step 2: Optimize Product Pages
- Focus on adding unique product descriptions, alt texts for images, and meta tags to improve on-page SEO. Using an SEO plugin will guide you through these tasks.
- Step 1: Install an SEO Plugin
Running Promotions and Discounts
- Step 1: Create Discount Coupons
- Go to
WooCommerce>Couponsand create discount codes that can be applied to your products. You can offer percentage discounts, fixed amount discounts, or free shipping. - Promote these offers through banners, pop-ups, and email newsletters to increase sales.
- Go to
- Step 2: Highlight Special Offers
- Create banners or a section on the homepage to feature current sales, seasonal promotions, or limited-time discounts. This encourages customers to take action quickly.
- Step 1: Create Discount Coupons
Regular Maintenance and Updates
- Step 1: Keep Your Site Updated
- Regularly update your WordPress version, the Bazar theme, and all plugins to ensure compatibility, fix security vulnerabilities, and improve performance.
- Step 2: Back Up Your Website
- Use a backup plugin like UpdraftPlus to create regular backups of your website’s files and database. This ensures you can restore your site in case of issues.
- Step 1: Keep Your Site Updated
Conclusion
The WordPress Bazar Multipurpose eCommerce Template is a versatile and powerful theme designed to help you create a stunning and fully functional online store. With its seamless integration with WooCommerce, customizable product pages, and drag-and-drop design capabilities via Elementor, Bazar is perfect for businesses across a wide range of industries. By following the step-by-step guide above, you can easily launch, customize, and manage your eCommerce site, providing a smooth and enjoyable shopping experience for your customers.