Free Download TheEvent Bootstrap Template | asadmukhtar.info
Step-by-Step Guide to Setting Up Authentication in Laravel 12 with Breeze   |   Manual Authentication in Laravel 12: Step-by-Step Guide   |   How to Build a REST API in Laravel 12 with Sanctum   |   Laravel 12 CRUD Application with Image Upload   |   Laravel 12 Multi-Auth System: Admin & User Login   |   How to Integrate Stripe Payment Gateway in Laravel 12   |   Building a Role-Based Access Control (RBAC) in Laravel 12   |   How to Use Laravel 12 Queues and Jobs for Background Tasks   |   Laravel 12 Livewire CRUD Example with Validation   |   Email Verification and Password Reset in Laravel 12   |   How to Use Laravel 12 API with Vue.js 3   |   Laravel 12 AJAX CRUD with jQuery and Bootstrap   |   Laravel 12 Multi-Language Website Setup   |   React Best Practices for 2025: Performance, SEO, and Scalability   |   How to Build a Full-Stack MERN App: A Step-by-Step Guide   |   React State Management: Redux vs. Context API vs. Recoil   |   Server-Side Rendering (SSR) in React with Next.js for SEO   |   How to Optimize React Apps for Faster Load Times   |   Building a REST API with Node.js and Express for a React App   |   Integrating JWT Authentication in React and Node.js (MERN Stack)   |   Real-time Chat App with React, Node.js, and Socket.io   |   How to Deploy a MERN Stack Application on AWS or Vercel   |   Connecting React Frontend to a Node.js Backend with Axios   |   Laravel Implement Flash Messages Example   |   How to integrate Angular 19 with Node.js and Express for full-stack development   |   Best practices for connecting Angular 19 frontend with Laravel API   |   Step-by-step guide to upgrading an existing project to Angular 19   |   How to implement authentication in Angular 19 using JWT and Firebase   |   Optimizing server-side rendering in Angular 19 with route-level render modes   |   Using Angular 19 signals for state management in large applications   |   How to create standalone components in Angular 19 for modular architecture   |   Building a CRUD application in Angular 19 with MongoDB and Express   |   Implementing lazy loading in Angular 19 to improve performance   |   How to integrate Angular 19 with GraphQL for efficient data fetching   |   Vue 3 Composition API vs Options API: A Comprehensive Comparison   |   Fetching and Displaying Data from APIs in Vue.js with Axios   |   Building a Todo App in Vue.js with Local Storage Integration   |   Handling Forms and Validation in Vue.js Using VeeValidate   |   State Management in Vue.js Applications Using Vuex   |   10 Most Important Tasks Every MERN Stack Developer Should Master   |   How to Build a Full-Stack CRUD App with MERN Stack   |   Best Practices for Authentication & Authorization in MERN Stack   |   1. MEAN Stack vs. MERN Stack: Which One Should You Choose in 2025   |   Top 10 Node.js Best Practices for Scalable and Secure Applications   |   How to Build a REST API with Laravel and Node.js (Step-by-Step Guide)   |   Mastering Angular and Express.js for Full-Stack Web Development   |   Top 10 Daily Tasks Every Frontend Developer Should Practice   |   Essential Backend Development Tasks to Boost Your Coding Skills   |   Real-World Mini Projects for Practicing React.js Daily   |   Laravel Developer Task List: Beginner to Advanced Challenges   |   How to Assign Effective Tasks to Your Intern Developers   |   10 Must-Try Tasks to Master JavaScript Fundamentals   |   Practical CSS Challenges That Improve Your UI Design Skills   |   Top Tasks to Learn API Integration in React and Angular   |   Best Task Ideas for a 30-Day Web Development Challenge   |   Top Git and GitHub Tasks Every Developer Should Know   |   30-Day Task Plan for Web Development Interns   |   Weekly Task Schedule for Junior Developers in a Startup   |   How to Track Progress with Development Tasks for Interns   |   What Tasks Should You Give to Interns in a MERN Stack Project   |   Build These 5 Projects to Master React Routing   |   Task-Based Learning: Become a Full-Stack Developer in 90 Days   |   Daily Coding Tasks That Will Sharpen Your Logical Thinking   |   Top 7 Backend Task Ideas to Practice With Node.js and MongoDB   |  

Free Download TheEvent Bootstrap Template

Free Download TheEvent Bootstrap Template

The TheEvent Bootstrap Template is a modern and fully responsive website template designed specifically for events, conferences, seminars, and other gatherings. With its clean design and easy-to-use layout, it provides a professional look that will make your event stand out and provide attendees with all the necessary information in a user-friendly manner.

Introduction to TheEvent Bootstrap Template

The TheEvent Bootstrap Template is a modern and fully responsive website template designed specifically for events, conferences, seminars, and other gatherings. With its clean design and easy-to-use layout, it provides a professional look that will make your event stand out and provide attendees with all the necessary information in a user-friendly manner.


Step-by-Step Guide to Customizing TheEvent Bootstrap Template

The TheEvent Bootstrap Template offers a great starting point for creating event-specific websites with sections for event schedules, speakers, registrations, and more. Below, we will guide you through customizing the TheEvent Bootstrap Template to create a stunning website for your event.


Step 1: Download and Set Up the Template

1. Download the Template

You can find the TheEvent Bootstrap Template on various free and premium template platforms like BootstrapMade or Start Bootstrap. After downloading the template, you’ll receive a .zip file with HTML, CSS, and JavaScript files.

2. Extract the Files

Once downloaded, unzip the template files. Open the project folder, and you will find several subdirectories like assets (for images, CSS, and JS files) and index.html (the main HTML page for the website).

3. Open in Browser

To view the template in action, simply open the index.html file in your web browser. This will load the template layout for you to see how it looks and functions.


Step 2: Customizing the Navigation Bar

The TheEvent Template has a sleek, fixed navigation bar that can be customized to provide easy access to different sections of your event website, like the schedule, speakers, or contact information. Here’s an example of how to set up the navigation bar:

html
<nav class="navbar navbar-expand-lg navbar-light fixed-top bg-light"> <a class="navbar-brand" href="#">TheEvent</a> <button class="navbar-toggler" type="button" data-toggle="collapse" data-target="#navbarNav" aria-controls="navbarNav" aria-expanded="false" aria-label="Toggle navigation"> <span class="navbar-toggler-icon"></span> </button> <div class="collapse navbar-collapse" id="navbarNav"> <ul class="navbar-nav ml-auto"> <li class="nav-item active"> <a class="nav-link" href="#home">Home</a> </li> <li class="nav-item"> <a class="nav-link" href="#about">About</a> </li> <li class="nav-item"> <a class="nav-link" href="#schedule">Schedule</a> </li> <li class="nav-item"> <a class="nav-link" href="#speakers">Speakers</a> </li> <li class="nav-item"> <a class="nav-link" href="#register">Register</a> </li> </ul> </div> </nav>

This navigation bar includes links to key sections of your event page, including Home, About, Schedule, Speakers, and Register. You can add more links if necessary, depending on your event's needs.


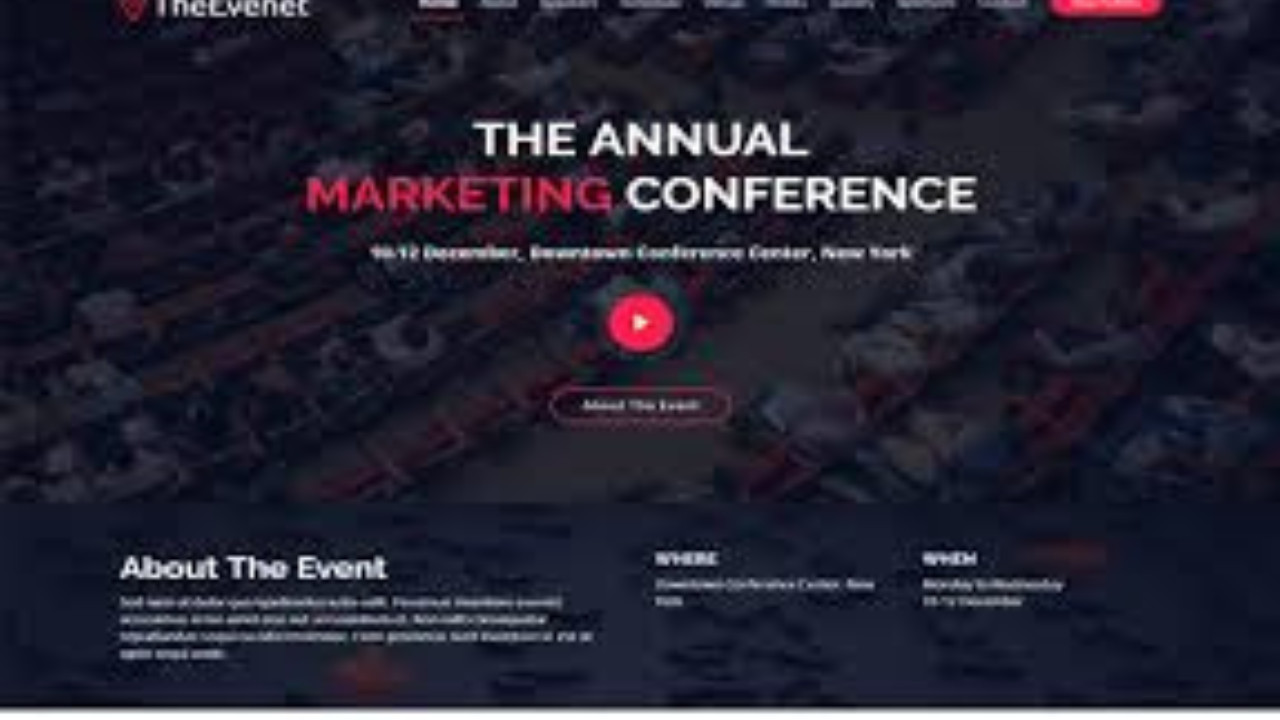
Step 3: Hero Section and Event Introduction

The Hero Section introduces the event to your visitors with a prominent title, description, and a call-to-action button. Here’s an example of the Hero Section:

html
<section id="home" class="hero bg-primary text-white text-center py-5"> <div class="container"> <h1 class="display-4">Join Us for TheEvent 2025</h1> <p class="lead">A premier gathering for industry leaders, innovators, and creators.</p> <a href="#register" class="btn btn-light btn-lg">Register Now</a> </div> </section>

This section highlights the event name and date while encouraging visitors to register. It includes a prominent button linked to the registration section.


Step 4: Event Schedule Section

The Schedule Section provides event attendees with detailed information about the event’s itinerary. You can use a grid or list format to display the schedule:

html
<section id="schedule" class="schedule py-5"> <div class="container"> <h2 class="text-center">Event Schedule</h2> <div class="row"> <div class="col-md-4"> <h5>Day 1</h5> <ul> <li>9:00 AM - Opening Ceremony</li> <li>10:30 AM - Keynote Speaker</li> <li>12:00 PM - Networking Lunch</li> </ul> </div> <div class="col-md-4"> <h5>Day 2</h5> <ul> <li>9:00 AM - Workshop 1</li> <li>11:00 AM - Panel Discussion</li> <li>1:00 PM - Lunch Break</li> </ul> </div> <div class="col-md-4"> <h5>Day 3</h5> <ul> <li>10:00 AM - Keynote Speech</li> <li>12:00 PM - Closing Remarks</li> <li>1:00 PM - Farewell Lunch</li> </ul> </div> </div> </div> </section>

This section organizes the event into days and lists out the sessions for each day. You can adjust the time slots and descriptions to match your event’s schedule.


Step 5: Meet the Speakers

Introduce your event’s speakers in a separate section to give attendees a preview of who they’ll be hearing from. The Speakers Section can include a photo, name, and a brief description for each speaker.

html
<section id="speakers" class="speakers bg-light py-5"> <div class="container"> <h2 class="text-center">Meet Our Speakers</h2> <div class="row"> <div class="col-md-4"> <img src="images/speaker1.jpg" class="img-fluid rounded-circle" alt="Speaker 1"> <h5 class="text-center">John Doe</h5> <p class="text-center">CEO of Tech Innovations, Inc.</p> </div> <div class="col-md-4"> <img src="images/speaker2.jpg" class="img-fluid rounded-circle" alt="Speaker 2"> <h5 class="text-center">Jane Smith</h5> <p class="text-center">Founder of Creative Solutions</p> </div> <div class="col-md-4"> <img src="images/speaker3.jpg" class="img-fluid rounded-circle" alt="Speaker 3"> <h5 class="text-center">David Lee</h5> <p class="text-center">VP of Marketing at Startup Inc.</p> </div> </div> </div> </section>

Each speaker is presented with a circular image, name, and title or description, making it easy for visitors to learn about the experts at your event.


Step 6: Registration Form

A Registration Section is essential for encouraging attendees to sign up for your event. Below is a simple contact form that collects necessary details from your potential attendees:

html
<section id="register" class="register py-5"> <div class="container"> <h2 class="text-center">Register Now</h2> <form> <div class="form-group"> <label for="name">Full Name</label> <input type="text" class="form-control" id="name" placeholder="Enter your full name"> </div> <div class="form-group"> <label for="email">Email Address</label> <input type="email" class="form-control" id="email" placeholder="Enter your email"> </div> <div class="form-group"> <label for="phone">Phone Number</label> <input type="tel" class="form-control" id="phone" placeholder="Enter your phone number"> </div> <button type="submit" class="btn btn-primary">Register</button> </form> </div> </section>

This form collects basic details like the attendee’s name, email, and phone number. You can modify it to collect additional information if needed.


Step 7: Footer Section

The footer contains essential links like privacy policies, contact information, and social media handles. Here's how to set it up:

html
<footer class="footer bg-dark text-white py-4"> <div class="container"> <div class="row"> <div class="col-md-6"> <p>&copy; 2025 TheEvent. All rights reserved.</p> </div> <div class="col-md-6 text-right"> <a href="#" class="text-white">Privacy Policy</a> | <a href="#" class="text-white">Contact Us</a> </div> </div> </div> </footer>

This footer includes a copyright notice and basic links to privacy policies and contact pages.


Conclusion

The TheEvent Bootstrap Template is an excellent choice for building an event website, thanks to its responsive design and easy-to-customize features. With sections for schedules, speakers, registration, and more, it allows you to provide all the relevant event information in one user-friendly layout. By following this guide, you can customize the template to suit your specific event and create a professional, engaging website.