Free Download Avilon Bootstrap Template
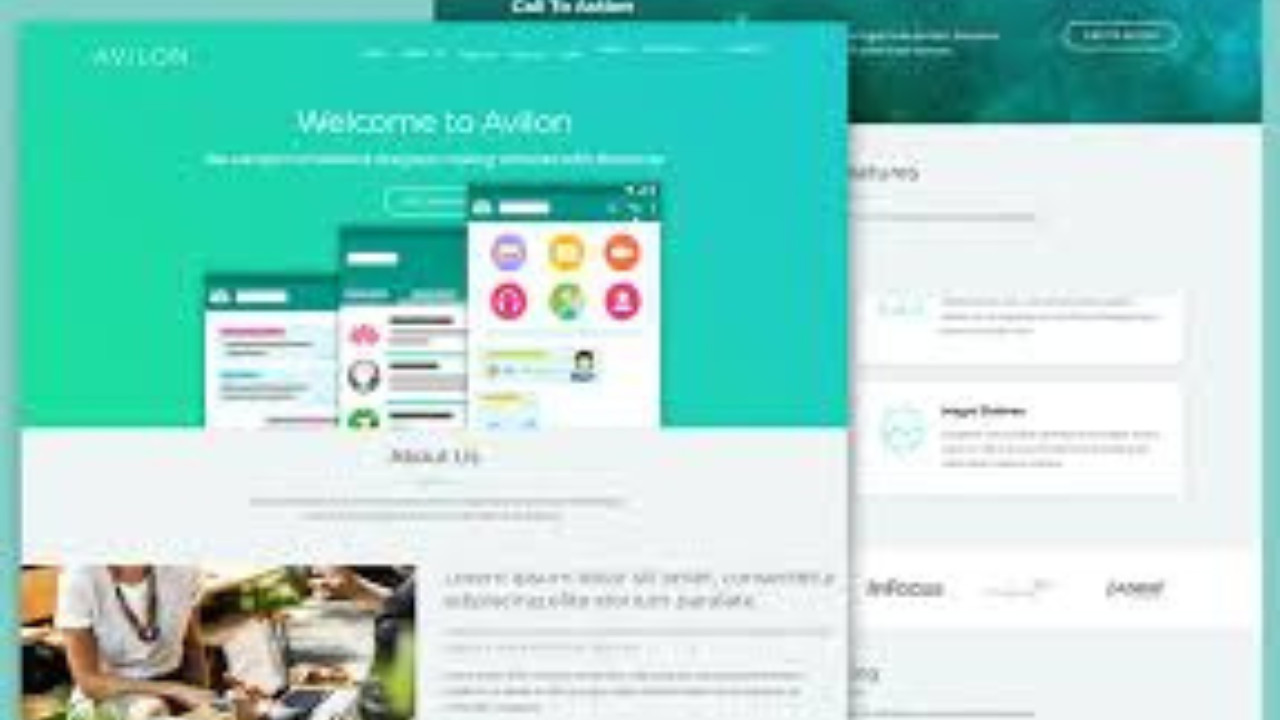
The Avilon Bootstrap Template is a versatile, modern, and fully responsive website template designed for various businesses, including corporate websites, portfolios, landing pages, and more. Featuring a sleek and elegant design with flexible layouts, Avilon provides a professional look that ensures an excellent user experience on all devices.
Introduction to Avilon Bootstrap Template
The Avilon Bootstrap Template is a versatile, modern, and fully responsive website template designed for various businesses, including corporate websites, portfolios, landing pages, and more. Featuring a sleek and elegant design with flexible layouts, Avilon provides a professional look that ensures an excellent user experience on all devices.
Step-by-Step Guide to Customizing the Avilon Bootstrap Template
The Avilon Bootstrap Template is perfect for creating a polished website that speaks to your business or personal brand. This guide will take you through setting up and customizing the template, focusing on its core components. Whether you're creating a business site, a portfolio, or a blog, Avilon will help you get started quickly and effectively.
Step 1: Download and Set Up the Template
1. Download the Template
You can obtain the Avilon Bootstrap Template from well-known sources such as BootstrapMade or Start Bootstrap. After downloading, you’ll receive a .zip file containing the HTML, CSS, and JavaScript files required for the website.
2. Extract the Files
Once downloaded, unzip the template package. You will find folders for assets, images, CSS, and JavaScript files, as well as the index.html file that serves as the main entry point of the website.
3. Open the Template in a Browser
To view the template in action, open the index.html file in any modern web browser. This will display the default layout of the Avilon Bootstrap Template.
Step 2: Customize the Navigation Bar
The Avilon Bootstrap Template includes a clean, responsive navigation bar that can be customized to suit your needs. Below is an example of a simple navbar you can use:
This navigation bar includes links to the following sections: Home, About, Services, Portfolio, and Contact. You can easily add or remove sections based on the needs of your website.
Step 3: Hero Section
The Hero Section is the first part of your site that visitors will see, making it a critical component of your homepage. This section should grab the user's attention with a strong title, description, and a call-to-action (CTA). Here’s an example:
This Hero Section features a bold background color, clear text, and a prominent CTA button that encourages visitors to explore your services.
Step 4: About Section
The About Section gives visitors a chance to learn more about your company or project. It typically includes a brief description of what you do and why people should trust you. Here’s an example of how you can structure it:
This About Section introduces your business with a concise description, providing potential clients with a sense of your mission and values.
Step 5: Services Section
The Services Section outlines what you offer to your clients or users. Whether you’re providing design services, web development, or any other expertise, the services section should clearly communicate this. Here’s an example:
This section uses a grid layout to display your services. Each service is displayed in its own card with a title and brief description.
Step 6: Portfolio Section
A Portfolio Section is essential for showcasing your work or projects. It’s a great way to demonstrate your skills and attract potential clients. Below is an example of a portfolio section:
This Portfolio Section showcases images of your past projects, with a title under each image for clarity. The layout is fully responsive, making it suitable for all screen sizes.
Step 7: Contact Section
The Contact Section provides a way for visitors to reach out to you. It may include a contact form, social media links, and your contact details. Below is an example of a contact section with a simple form:
This simple form captures essential contact details like name, email, and message. You can further customize it based on your needs.
Step 8: Footer Section
The Footer Section typically contains copyright information, links to important pages, and social media icons. Here’s an example:
This footer includes copyright information and basic legal links like Privacy Policy and Terms of Service.
Conclusion
The Avilon Bootstrap Template provides a beautiful, responsive, and versatile framework for building modern websites. By following the steps outlined in this guide, you can customize the template to fit your needs, whether you are building a corporate website, portfolio, or landing page. With its clean design and user-friendly features, Avilon ensures an excellent online experience for your visitors.