Free download admin Sneat template
The Admin Sneat Template is a premium, fully responsive, and customizable admin dashboard template built with Bootstrap 5. Designed to offer a clean and modern user interface, this template provides the necessary tools and components for creating visually appealing and highly functional admin panels, making it an ideal choice for web applications, content management systems (CMS), and enterprise-level management solutions.
Introduction:
The Admin Sneat Template is a premium, fully responsive, and customizable admin dashboard template built with Bootstrap 5. Designed to offer a clean and modern user interface, this template provides the necessary tools and components for creating visually appealing and highly functional admin panels, making it an ideal choice for web applications, content management systems (CMS), and enterprise-level management solutions.
Outcome: A Step-by-Step Guide to Using the Admin Sneat Template
The Admin Sneat Template comes with various pre-built features, components, and pages to help you quickly build a feature-rich admin panel. In this guide, we will go over the installation process, explore the key features, and dive into customization and integration techniques to ensure that you can maximize the potential of this versatile template.
1. Setting Up the Admin Sneat Template
Step 1: Download and Extract the Template
- Download: The Admin Sneat Template can be purchased or downloaded from trusted sources like ThemeForest or the official website.
- Extract the Files: After downloading, extract the template files into your project directory. You’ll receive a set of HTML files, CSS stylesheets, JavaScript files, and assets such as images and icons.
Step 2: Install Required Dependencies
Bootstrap 5: Since Admin Sneat is based on Bootstrap 5, you need to include Bootstrap’s CSS and JavaScript files in your project.
Example of including Bootstrap 5:
Other Dependencies: The template may also use other libraries such as Chart.js, ApexCharts, or jQuery for interactive components. Be sure to check the documentation for all dependencies and install them as necessary.
Step 3: Preview the Template
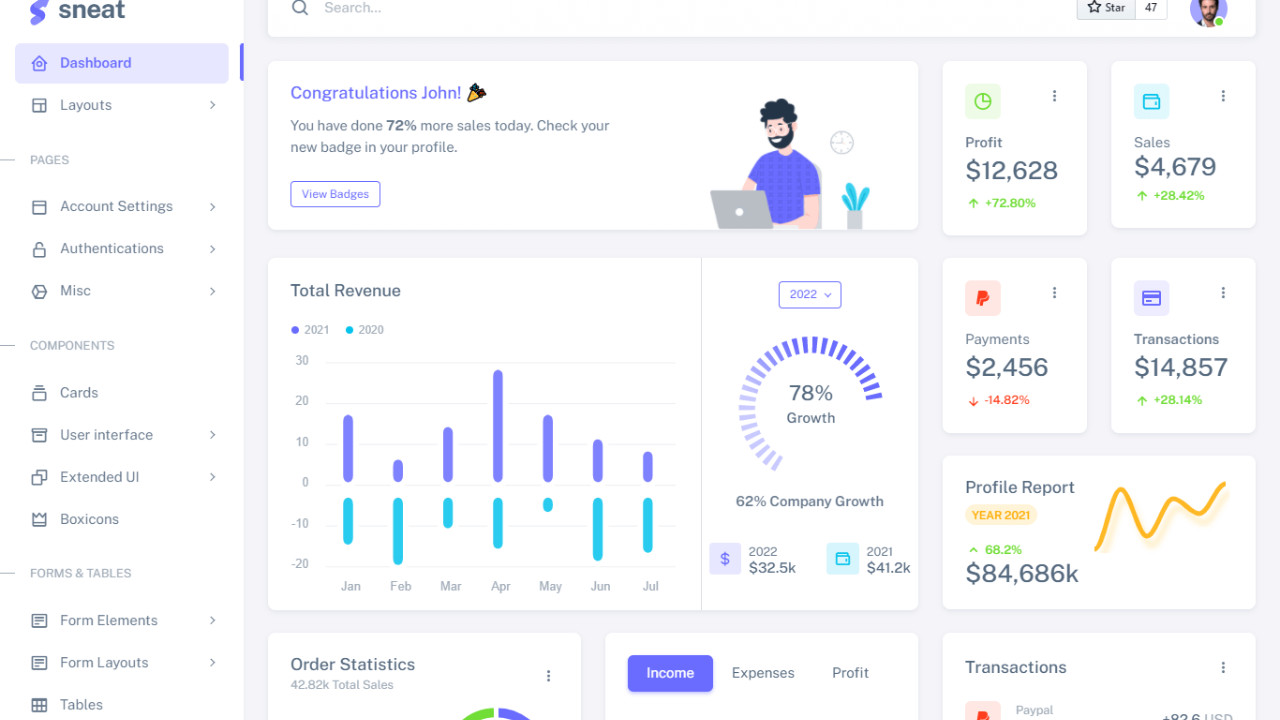
- Open the index.html file in your web browser to see the default layout of the Admin Sneat Template. You will find a clean design with a sidebar, navigation bar, and various UI components that make up the admin dashboard.
2. Key Features of the Admin Sneat Template
The Admin Sneat Template provides a range of features that make it a powerful tool for building a professional and feature-rich admin dashboard. Some of the standout features include:
Responsive and Mobile-First Design
- Fully Responsive: The template is designed to work seamlessly across all devices and screen sizes, from smartphones and tablets to large desktop screens.
- Mobile-First Approach: The layout adapts well on smaller screens, ensuring that mobile users have a smooth experience.
Pre-Built UI Components
- Buttons and Alerts: The template provides a variety of pre-designed buttons and alerts, allowing you to implement important actions (e.g., submitting forms, displaying warnings) with minimal effort.
- Forms: The Admin Sneat Template includes well-styled input fields, checkboxes, radio buttons, select boxes, and validation messages for forms, making data entry simple and intuitive.
- Modals: The modals included in the template allow you to display additional content or confirm actions without navigating away from the current page.
Interactive Charts and Data Visualizations
- Charts: The Admin Sneat Template comes with integrated charts using Chart.js or ApexCharts, offering easy-to-implement data visualization features like line charts, bar charts, and pie charts.
- Tables: The template includes interactive, responsive tables that support sorting, searching, and pagination, which are perfect for displaying large datasets.
Sidebar and Navigation Customization
- Collapsible Sidebar: The sidebar in Admin Sneat can be easily collapsed or expanded to give users more space to view content. It also supports multi-level dropdowns, allowing for organized navigation.
- Sticky Navigation Bar: The top navigation bar remains fixed at the top, ensuring that key actions, like logging out or viewing notifications, are always easily accessible.
Pre-Built Pages
- Authentication Pages: The template includes authentication pages such as login, registration, and forgot password, making it easy to integrate secure authentication mechanisms into your project.
- Error Pages: The Admin Sneat Template comes with 404 and 500 error pages, ensuring that users experience a consistent interface even when they encounter errors.
3. Customizing the Admin Sneat Template
Customizing the Admin Sneat Template is simple due to its modular and flexible design. You can make both minor and major adjustments to the template to fit your project needs.
Step 1: Modify the Color Scheme
SASS Variables: If the template uses SASS, you can easily modify the global variables such as primary color, background color, and typography styles.
Example of changing the primary color:
CSS: Alternatively, you can modify the CSS styles directly to adjust global elements such as the background, text, and buttons.
Step 2: Layout Customization
Sidebar Customization: The sidebar can be customized to change its width, position (left or right), background color, and content. You can also add or remove links and icons to tailor it to your needs.
Example of changing the sidebar background color:
Widgets and Content Sections: The template provides multiple pre-designed widgets for displaying stats, user data, charts, and more. You can modify, remove, or add new widgets to fit your dashboard’s needs.
Step 3: Add New Pages
The Admin Sneat Template provides a set of base pages, but you can add new ones as required. For example, you might want to add a User Profile page, a Reports page, or a Settings page.
Example of adding a new link to the sidebar:
Step 4: Customizing Modals and Alerts
Modals: You can customize modals for showing messages or gathering information from users. Modify the modal’s content, button styles, and behavior to fit your use case.
Example of customizing a modal:
4. Backend Integration
Integrating your Admin Sneat Template with the backend allows you to display dynamic data and update the dashboard in real time. Below are some steps for backend integration:
Step 1: Choose a Backend Framework
- Node.js with Express: Use Node.js and Express to handle API requests, manage authentication, and serve dynamic data.
- PHP with Laravel: If you are familiar with PHP, Laravel provides a robust environment for backend development, including routing, database management, and more.
Step 2: Fetch Data Dynamically
You can use AJAX or Axios to fetch data from your backend server and dynamically update the charts, tables, or other dashboard components.
Example of fetching data using AJAX:
Step 3: Implement Real-Time Data
- If your dashboard needs real-time updates (e.g., live user data or notifications), you can use WebSockets to push new data to the client without requiring a page reload.
Step 4: API Integration
- Third-Party APIs: The Admin Sneat Template can integrate with popular APIs like Google Analytics, Stripe, or Twilio to provide additional functionality such as payment processing, email notifications, or data tracking.
5. Security Best Practices
When using the Admin Sneat Template, it's essential to implement proper security measures to protect sensitive data.
Step 1: Use Secure Authentication
- Implement JWT (JSON Web Tokens) or OAuth for secure authentication and ensure that only authorized users can access the admin dashboard.
Step 2: Role-Based Access Control (RBAC)
- Use RBAC to define different levels of access based on user roles, such as admin, moderator, or user. This ensures that users only see the features relevant to their permissions.
Step 3: Use HTTPS
- Always use HTTPS to encrypt communication between the server and the client. This is especially important for handling sensitive user data like login credentials or payment details.
6. Documentation and Support
The Admin Sneat Template comes with detailed documentation that includes:
- Installation and Setup Instructions: Step-by-step guidance on how to install and configure the template.
- Customization Guide: How to modify and personalize the template’s components, layouts, and styles.
- Backend Integration Tips: Guidance on connecting the template to a backend and fetching dynamic data.