Free Download Admin Skydash Template
The Admin Skydash Template is a premium, modern, and fully responsive admin dashboard template that allows developers to create clean, functional, and visually appealing web applications. Built with Bootstrap 4 and HTML5, this template offers a flexible, scalable design that’s ideal for managing complex data and creating intuitive admin interfaces.
Introduction:
The Admin Skydash Template is a premium, modern, and fully responsive admin dashboard template that allows developers to create clean, functional, and visually appealing web applications. Built with Bootstrap 4 and HTML5, this template offers a flexible, scalable design that’s ideal for managing complex data and creating intuitive admin interfaces.
Outcome: A Step-by-Step Guide to Using the Admin Skydash Template
The Admin Skydash Template comes packed with useful features, widgets, and customization options, making it a powerful tool for any developer. This guide will walk you through the process of setting up, customizing, and integrating this template into your project, ensuring you can harness its full potential.
1. Setting Up the Admin Skydash Template
Step 1: Download and Extract the Template
- Download the Template: Get the Admin Skydash Template from a trusted source such as ThemeForest or the official developer website.
- Extract Files: After downloading, unzip the template package into your project directory. This will include essential HTML, CSS, JavaScript files, and other assets needed for the template.
Step 2: Install Required Dependencies
Bootstrap 4 and jQuery: The Admin Skydash Template is built with Bootstrap 4 for responsive grid layouts and jQuery for interactive components. Ensure these libraries are included in your HTML files for proper functioning.
Example of including Bootstrap 4 and jQuery:
Chart Libraries: If you plan to integrate charts or graphs, include libraries such as Chart.js or ApexCharts for data visualization.
Step 3: Open the Template
- Open the index.html file in a browser to see the template in action. Alternatively, use a local server setup (like VS Code's Live Server) for real-time updates as you make changes.
2. Key Features of the Admin Skydash Template
The Admin Skydash Template comes with a variety of features that can be customized and integrated into your web applications. Some of the key features are listed below:
Responsive Design
- Mobile-First Approach: The template is designed with a mobile-first approach, ensuring that it works smoothly on all screen sizes, from smartphones to desktops.
- Fluid Grid System: Powered by Bootstrap 4, the responsive grid system ensures the layout automatically adapts to different screen sizes, making the template easy to use on any device.
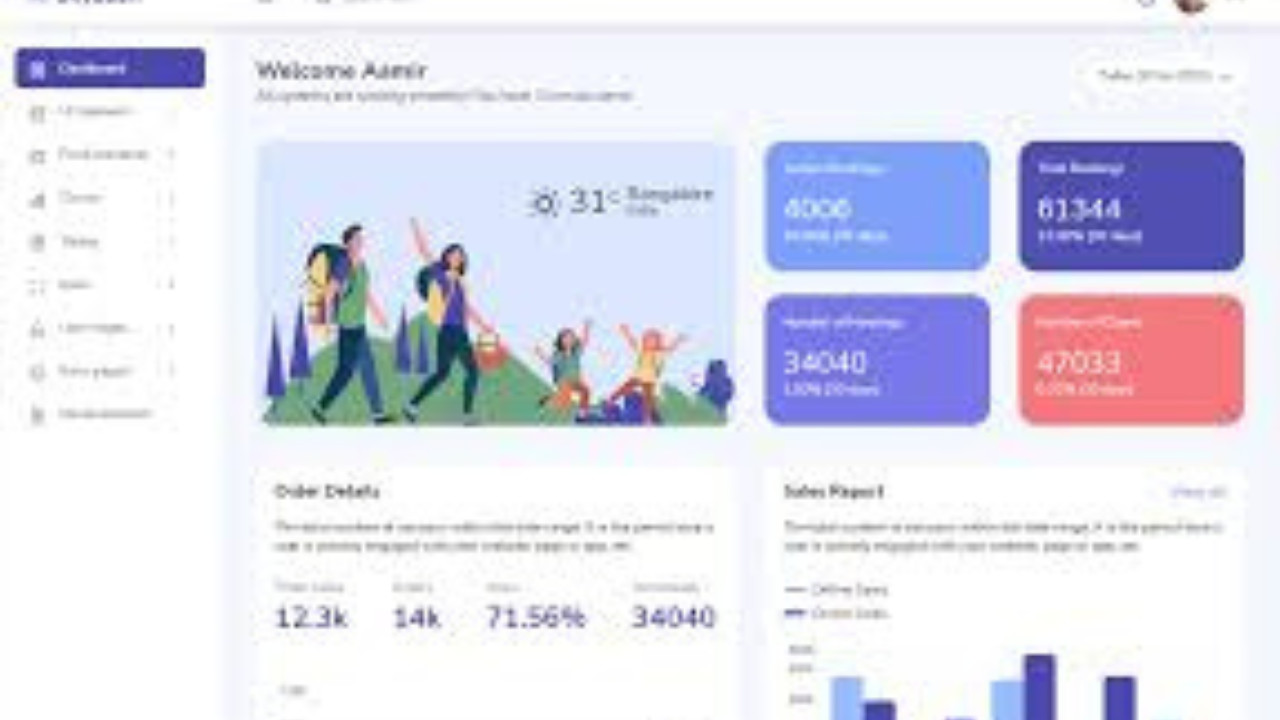
Customizable Dashboard
- Drag-and-Drop Widgets: The template allows users to drag and drop widgets on the dashboard, making it easy to rearrange and customize the layout to suit your needs.
- Pre-Designed Widgets: The dashboard comes with pre-designed widgets, such as charts, recent activities, user statistics, and notifications, allowing you to display essential information right on the homepage.
UI Components
- Form Elements: The template comes with a variety of form elements, including text inputs, checkboxes, radio buttons, dropdowns, date pickers, and more. These components are highly customizable and can be integrated with back-end systems to collect data.
- Buttons and Icons: Various styles of buttons and icons are available, enabling easy integration of interactive elements like buttons, icons, and notifications.
Charts and Graphs
- Chart.js Integration: The template integrates Chart.js, a powerful charting library that allows you to display data in visually appealing formats such as bar charts, pie charts, and line charts. This is ideal for showing data-driven insights.
- Real-Time Data Visualization: You can easily bind these charts to real-time data from your backend via AJAX or WebSockets, allowing your dashboard to display live data without refreshing the page.
Sidebar and Navigation
- Collapsible Sidebar: The template features a collapsible sidebar that helps save screen space while still providing a full navigation menu.
- Multi-Level Navigation: The sidebar supports multi-level nested menus, making it ideal for complex applications with several sections and sub-sections.
Authentication Pages
- Login and Registration: The Admin Skydash Template includes fully functional login and registration pages, making it easy to integrate with your back-end authentication system.
- Error Pages: Pre-designed error pages, such as 404 and 500 pages, are available to handle issues like page not found or server errors effectively.
3. Customizing the Admin Skydash Template
The Admin Skydash Template is highly customizable, so you can modify the template according to your project’s needs. Here’s how you can make adjustments:
Step 1: Modify the Color Scheme
CSS Customization: Change the default color scheme by updating the CSS files. You can easily define new primary and secondary colors to align the design with your branding.
Example of changing the primary color in CSS:
Theme Switcher: The template may include multiple theme options, such as light and dark themes. You can toggle between these themes to provide users with the option to select their preferred layout.
Step 2: Adjust the Layout
Sidebar Customization: The sidebar’s position, size, and functionality can be adjusted. You can make the sidebar fixed or change its width to fit your design needs.
Example of adjusting sidebar width:
Dashboard Layout: You can rearrange the widgets and panels on the dashboard to display data the way you prefer. The layout is based on a flexible grid system, so you can add or remove columns and adjust their width as needed.
Step 3: Add New Pages and Components
- Custom Pages: You can add additional pages to your admin dashboard for features such as user management, analytics, or settings. Create new HTML files and link them to the navigation menu.
- Widgets: You can also create custom widgets to display specific data, such as system logs, recent activity, or live notifications.
4. Backend Integration
While the Admin Skydash Template provides a beautiful front-end interface, you’ll need a backend system to handle user authentication, data storage, and business logic.
Step 1: Choose a Backend Framework
- Use a backend framework like Node.js, Django, Laravel, or Ruby on Rails to manage server-side functionality.
Step 2: Fetch Dynamic Data
AJAX: Use AJAX to request data from your backend and dynamically update the dashboard without refreshing the page.
Example of using AJAX to fetch data:
Step 3: Real-Time Data Updates
- WebSockets: If you need real-time updates, such as for live user activity or system metrics, use WebSockets to establish a persistent connection between the server and client, enabling automatic data updates.
Step 4: API Integration
- Integrate third-party APIs to extend the functionality of your admin dashboard. You can use APIs like Google Analytics, Mailchimp, or Stripe to display external data, such as website traffic, customer data, or payment transactions.
5. Security Considerations
As you develop an admin dashboard, it’s essential to implement security measures to protect sensitive data and ensure secure access.
Step 1: Implement Authentication
- JWT (JSON Web Tokens): Implement JWT for secure user authentication. This ensures that only authorized users can access the admin dashboard.
Step 2: Role-Based Access Control
- Use role-based access control (RBAC) to grant different permissions based on user roles (e.g., Admin, Moderator, Viewer). This helps control what data and functionality each user can access.
Step 3: Secure Communication
- SSL/TLS Encryption: Secure the communication between the client and the server by enabling SSL/TLS encryption, preventing unauthorized access to sensitive data.
- Password Hashing: Always hash user passwords using a secure algorithm like bcrypt before storing them in your database.
6. Documentation and Support
The Admin Skydash Template usually comes with comprehensive documentation to help you get started:
- Setup Instructions: Step-by-step guide to setting up the template on your local machine or server.
- Customization Guide: Instructions on how to modify the template, including color schemes, layout changes, and the addition of new components.
- Integration Tips: Documentation for integrating the template with backend systems, third-party APIs, and data visualization tools.
- Support: Information on how to get support from the template provider in case you run into issues.
7. Conclusion
The Admin Skydash Template is an excellent choice for developers looking to build modern, responsive, and user-friendly admin dashboards. Its clean design, customizable features, and integration capabilities make it a great tool for managing web applications. By following this guide, you can set up, customize, and integrate the template into your project with ease, creating a dynamic and effective admin interface that enhances user experience.