Introduction:
The RuangAdmin Template is a fully responsive and highly customizable admin dashboard template that provides developers with a modern design and robust features to create beautiful and functional admin panels. It is built using Bootstrap 4, HTML5, and CSS3, making it the perfect solution for managing websites and applications with ease and efficiency.
Outcome: A Step-by-Step Guide to Using the Admin RuangAdmin Template
The RuangAdmin Template is designed to simplify the creation of admin dashboards with its clean user interface and powerful features. This guide will help you set up, customize, and integrate the RuangAdmin Template into your projects. Let’s dive into the key steps for using this template effectively.
1. Setting Up the Admin RuangAdmin Template
Step 1: Download and Extract the Template
- Download the Template: First, obtain the RuangAdmin Template from a reliable source such as ThemeForest or the official developer website.
- Extract Files: After downloading, extract the template files into your project folder. This folder will include necessary assets like HTML, CSS, JavaScript, and image files that will make up the admin panel.
Step 2: Install Required Dependencies
Frontend Libraries: The RuangAdmin Template relies on Bootstrap 4, jQuery, and other frontend libraries. Ensure that these libraries are included in your project to support the layout and interactive components.
For example, you can include Bootstrap 4 and jQuery via CDN in the
<head>section of your HTML:html<link href="https://stackpath.bootstrapcdn.com/bootstrap/4.5.2/css/bootstrap.min.css" rel="stylesheet"> <script src="https://code.jquery.com/jquery-3.5.1.slim.min.js"></script>Additional Components: You may also need to add charting libraries like Chart.js or ApexCharts for displaying data visualizations, which are included in the template.
Step 3: Open the Template
- Open the index.html file in a browser to view the template in action. If you are working locally, you can set up a local development server (e.g., using VS Code's Live Server extension) to see real-time changes.
2. Key Features of the Admin RuangAdmin Template
The RuangAdmin Template is packed with powerful features that make it a great choice for building professional admin panels. Here are some of its key features:
Responsive Design
- Mobile-First Layout: The template is designed with mobile-first principles, ensuring that the admin panel looks great on all screen sizes—from desktops to mobile devices.
- Fluid Grid System: Thanks to Bootstrap 4’s grid system, the layout is fluid and automatically adjusts based on screen size. This means that the template is fully responsive and adapts seamlessly to different devices.
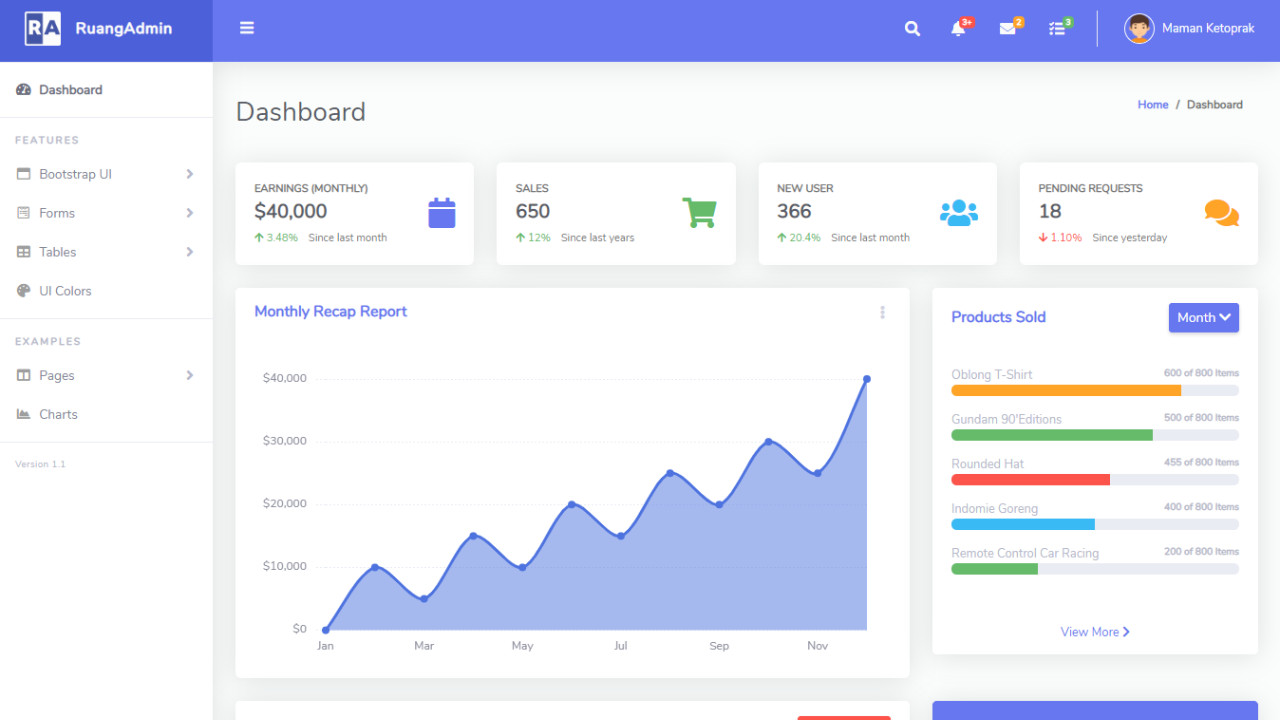
User-Friendly Dashboard
- Interactive Widgets: The template provides a variety of pre-designed widgets, such as notifications, charts, and data tables, for you to easily display important information.
- Customizable Panels: The dashboard layout is fully customizable, allowing you to arrange and resize panels and widgets according to your needs.
Pre-built UI Components
- Form Elements: The template includes a variety of pre-built form elements such as text inputs, radio buttons, checkboxes, and dropdowns, making it easy to create interactive forms for users to input data.
- Buttons and Icons: The admin panel comes with several styles of buttons and icons, which are perfect for triggering actions like submitting forms, opening modals, or navigating between pages.
Data Visualization
- Charts and Graphs: The template integrates Chart.js, allowing you to display interactive bar charts, line charts, pie charts, and other data visualizations. This is ideal for showing key metrics, performance data, or user activity in a visually appealing way.
- Real-Time Data Widgets: The template includes widgets for showing real-time data, like system status, user activity, and sales metrics, which automatically update without needing a page refresh.
Customizable Sidebar and Navigation
- Collapsible Sidebar: The sidebar navigation is collapsible, allowing users to hide or expand the menu to create more space on the screen.
- Multi-Level Menu: The sidebar supports multi-level navigation, making it easy to organize and navigate complex applications with multiple sections.
Authentication Pages
- Login and Registration: The template comes with pre-built login, registration, and password recovery pages. These pages can be easily integrated with your backend authentication system.
- Error Pages: RuangAdmin also includes customizable error pages (like 404 and 500), ensuring that your users get helpful feedback when something goes wrong.
3. Customizing the Admin RuangAdmin Template
The RuangAdmin Template is designed to be easily customizable. Here’s how you can make changes to the template to fit your project’s requirements:
Step 1: Change the Color Scheme
Custom Colors: You can easily modify the color scheme of the template by editing the CSS or SCSS files. The RuangAdmin Template allows you to change the primary, secondary, and background colors to match your brand’s identity.
Example of changing the primary color in CSS:
css.navbar { background-color: #28a745; /* Green primary color */ }Theme Settings: If the template includes theme settings, you can toggle between light and dark modes or choose predefined color schemes to enhance the user experience.
Step 2: Modify the Layout
Sidebar Customization: The sidebar is fully customizable. You can change its size, position, and style to fit your project’s design. You can also add or remove menu items, making it easier for users to navigate the admin panel.
Example for modifying sidebar width:
html<div class="sidebar" style="width: 250px;"> <!-- Sidebar content --> </div>Dashboard Layout: You can adjust the grid layout of the dashboard, adding or removing columns, or changing the size of widgets and panels to display information in the most relevant way for your project.
Step 3: Add New Pages and Components
- Create New Pages: You can easily add new pages to your admin panel by creating additional HTML files for features like user management, reports, or system settings.
- Add Custom Widgets: The template allows you to create custom widgets for displaying unique data, such as new orders, customer inquiries, or live metrics.
4. Backend Integration
The RuangAdmin Template provides a static front-end layout, but you will need to integrate it with backend services to make it fully dynamic.
Step 1: Backend Framework
- Choose a backend framework such as Node.js, Laravel, Django, or Flask to set up your server-side logic and database. These frameworks will help you manage user authentication, data storage, and business logic.
Step 2: Fetch Dynamic Data
AJAX Integration: Use AJAX to make real-time requests to your backend and display the latest data on your dashboard without reloading the page.
Example of fetching user data with AJAX:
javascript$.ajax({ url: '/api/users', method: 'GET', success: function(data) { // Update the user table or chart with the fetched data } });
Step 3: Real-Time Updates
- WebSocket Integration: For real-time updates (such as monitoring live system status or user activity), integrate WebSockets into your backend to push updates to the dashboard automatically.
Step 4: Data Handling and APIs
- If you want to display external data (e.g., analytics or customer data), integrate third-party APIs like Google Analytics, Mailchimp, or Stripe for a seamless experience.
5. Security Considerations
Since the RuangAdmin Template will likely be used for managing sensitive data, it’s crucial to implement strong security practices.
Step 1: Authentication
- Implement JWT (JSON Web Tokens) or OAuth for user authentication to ensure only authorized users can access the admin panel.
Step 2: Role-Based Access Control (RBAC)
- Apply role-based access control to restrict access to sensitive pages or features based on the user's role (e.g., Admin, Manager, Viewer).
Step 3: Secure Data
- SSL/TLS Encryption: Secure the communication between the frontend and backend by using SSL to encrypt data exchanges.
- Password Hashing: Always hash user passwords using a secure algorithm like bcrypt before storing them in the database.
6. Documentation and Support
The RuangAdmin Template typically comes with detailed documentation that provides instructions for:
- Installation: Step-by-step guide for setting up the template on your local machine or live server.
- Customization: How to change the theme, layout, and UI components to fit your project’s needs.
- Backend Integration: Guidance on integrating the template with backend services, databases, and APIs.
- Support: Access to technical support and community forums for troubleshooting and assistance.
7. Conclusion
The RuangAdmin Template is a powerful and flexible tool for creating feature-rich admin dashboards. With its modern design, responsive layout, and easy customization options, it is ideal for developers looking to build professional web applications. By following this guide, you will be able to set up, customize, and integrate the RuangAdmin Template into your projects efficiently, ensuring that your admin panel is both functional and visually appealing.