Free Download Admin Regal template
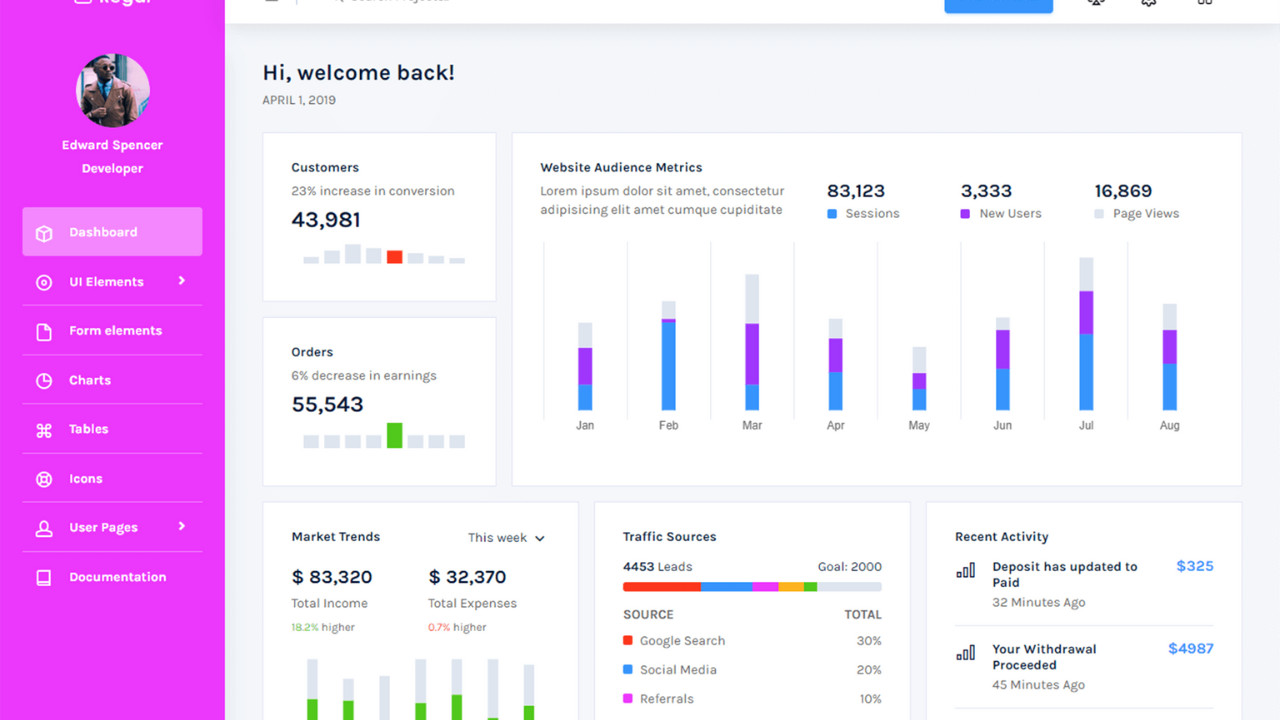
The Admin Regal Template is a modern, sleek, and highly customizable admin dashboard template, designed to provide developers with a clean and efficient user interface for managing data and web applications. Built using Bootstrap 4, this template is fully responsive and offers a range of ready-to-use components and widgets, ensuring a seamless experience when building admin panels for both small and large-scale applications.
Introduction:
The Admin Regal Template is a modern, sleek, and highly customizable admin dashboard template, designed to provide developers with a clean and efficient user interface for managing data and web applications. Built using Bootstrap 4, this template is fully responsive and offers a range of ready-to-use components and widgets, ensuring a seamless experience when building admin panels for both small and large-scale applications.
Outcome: A Step-by-Step Guide to Using the Admin Regal Template
The Admin Regal Template comes packed with essential features, a well-organized structure, and various interactive elements. This guide will walk you through the entire process of setting up, customizing, and integrating the template into your project so you can make the most of its features.
1. Setting Up the Admin Regal Template
Step 1: Download and Extract the Template
- Download the Template: Get the Admin Regal Template from a trusted platform such as ThemeForest or the official vendor website.
- Extract Files: After downloading, extract the contents into your project directory. This will include all necessary HTML, CSS, JavaScript files, and other essential assets.
Step 2: Install Required Dependencies
Bootstrap 4: The Admin Regal Template is built on Bootstrap 4, so ensure you have the required Bootstrap files in place. You can either include the CDN links in your HTML or download and use the local files.
Example of including Bootstrap 4 via CDN:
Charting Libraries: If you plan on using data visualizations such as charts, libraries like Chart.js or ApexCharts are typically supported by the template for seamless integration.
Step 3: Open the Template
- Open the index.html file in a browser to preview the template. For better development experience, you can use a local server like VS Code Live Server for automatic updates during the customization process.
2. Key Features of the Admin Regal Template
The Admin Regal Template includes a variety of features that can be leveraged to create a high-quality and functional admin panel. Some of the core features are highlighted below:
Responsive Layout
- Mobile-First Design: The template is designed with a mobile-first approach, meaning it looks great on all screen sizes, from mobile phones to large desktop displays.
- Grid System: The Bootstrap 4 grid system ensures that the template adjusts seamlessly to different screen sizes. This makes it ideal for building applications that need to perform well across devices.
User Interface (UI) Components
- Forms and Inputs: The template comes with a wide variety of customizable form components such as text inputs, checkboxes, radio buttons, drop-downs, date pickers, and more. These elements are designed to help you collect and manage user data effectively.
- Buttons and Alerts: There are several button styles (primary, secondary, etc.) and alert types (success, error, info) that can be integrated into your admin panel for improved user interaction.
- Modals and Dialog Boxes: Built-in modals help display content or gather user input without navigating away from the current page.
Pre-Designed Widgets
- Widgets for Key Metrics: The template includes several pre-built widgets for displaying important metrics such as user statistics, sales figures, tasks, and notifications.
- Customizable Widgets: Widgets like graphs, charts, and tables can be easily customized to suit your needs. This ensures that you can display real-time data and statistics without significant coding changes.
Charts and Data Visualization
- Integrated with Chart.js: The template comes with Chart.js integration, allowing you to add interactive charts such as bar, pie, and line charts to your dashboard. This is particularly useful for displaying performance metrics and analytics.
- Data-Driven Insights: The charts are fully customizable, so you can pull real-time data from your backend to make your dashboards more dynamic and insightful.
Sidebar Navigation
- Collapsible Sidebar: The sidebar is collapsible, saving valuable screen space while providing easy access to important pages and links.
- Multi-Level Navigation: The sidebar supports multi-level nested menus, making it a great choice for complex applications with many sections and sub-sections.
User Authentication Pages
- Login and Register Pages: The template includes pre-designed login and registration pages, so you can implement user authentication quickly and seamlessly.
- Error Pages: The template comes with standard error pages (e.g., 404, 500), which allow you to handle issues like page not found or internal server errors with a polished, user-friendly experience.
3. Customizing the Admin Regal Template
The Admin Regal Template is highly customizable, so you can make design adjustments and functionality tweaks as per your needs. Here’s how you can customize the template:
Step 1: Customize the Color Scheme
Edit the CSS: You can change the color scheme of the template by editing the provided CSS files. Tailor the primary, secondary, and background colors to match your branding.
Example of customizing the primary color in CSS:
Theme Options: The template may come with a built-in theme switcher, allowing you to easily toggle between light and dark modes. Adjusting these settings will change the overall look and feel of the template.
Step 2: Adjust Layout and Structure
Sidebar Customization: You can adjust the width, position, or behavior of the sidebar using Bootstrap’s utility classes or by directly modifying the HTML structure. For example, you can change the sidebar from fixed to static or adjust its width.
Example of adjusting sidebar width:
Dashboard Layout: You can rearrange the various dashboard widgets by modifying the HTML structure. Bootstrap's grid system will allow you to adjust the layout of cards, charts, and tables.
Step 3: Add New Pages
- You can create new pages for different functionalities such as user management, reports, or settings. Add new HTML files and link them through the sidebar or top navigation menu.
- Customize the navigation items to include links to these new pages.
4. Backend Integration
To fully integrate the Admin Regal Template with your application, you’ll need to connect the frontend to a backend server.
Step 1: Choose a Backend Framework
- You can use a backend framework like Node.js, Laravel, Django, or Ruby on Rails to handle server-side tasks like database interactions, authentication, and API endpoints.
Step 2: Fetch Dynamic Data
AJAX: Use AJAX to fetch data dynamically from your backend and update the dashboard in real-time. This is especially useful for updating statistics or charts without reloading the entire page.
Example of fetching data with AJAX:
Step 3: Real-Time Data
- WebSockets: If you want to display live data on your dashboard (like live notifications or real-time metrics), integrate WebSockets to provide real-time updates.
Step 4: API Integration
- Integrate third-party APIs such as Stripe, Google Analytics, or Mailchimp to extend the functionality of your admin panel. For example, you can show payment stats, website traffic, or email campaign performance directly within the dashboard.
5. Security Considerations
When building an admin panel, security is crucial to protect sensitive data. The Admin Regal Template includes several features to help ensure a secure environment.
Step 1: Implement Secure Authentication
- Use JWT (JSON Web Tokens) or OAuth for user authentication, ensuring only authorized users have access to the admin panel.
Step 2: Role-Based Access Control (RBAC)
- Implement role-based access control (RBAC) to restrict users’ access based on their roles. For example, Admin users may have access to all sections, while regular users may only have limited access.
Step 3: Secure Communication
- SSL/TLS Encryption: Use SSL/TLS encryption for secure communication between the frontend and backend, ensuring that user data is transmitted securely.
- Password Hashing: Always hash user passwords before storing them in your database using secure algorithms like bcrypt.
6. Documentation and Support
The Admin Regal Template typically comes with comprehensive documentation to assist you in setting up and customizing the template. The documentation usually includes:
- Installation Instructions: A guide to help you get started with the template and set it up for your project.
- Customization Tips: Detailed steps to customize the template's appearance and layout to suit your needs.
- Integration Guide: Instructions on how to integrate the template with backend technologies, third-party APIs, and external libraries.
Additionally, if you run into any issues or need support, the template provider may offer customer support or a community forum.
7. Conclusion
The Admin Regal Template is a versatile, responsive, and customizable solution for building efficient and attractive admin dashboards. With its modern design, easy-to-use components, and robust functionality, it provides everything you need to create a professional admin panel. By following this guide, you’ll be able to set up, customize, and integrate the template into your project with ease, delivering an exceptional user experience.