Free Download Admin Pluto template
The Admin Pluto Template is a highly versatile and visually appealing admin dashboard template designed to simplify the process of managing backend data and interfaces. Built with Bootstrap 4 and SASS, this template offers a sleek, modern design with multiple useful features to help developers create intuitive, responsive, and user-friendly admin panels.
Introduction:
The Admin Pluto Template is a highly versatile and visually appealing admin dashboard template designed to simplify the process of managing backend data and interfaces. Built with Bootstrap 4 and SASS, this template offers a sleek, modern design with multiple useful features to help developers create intuitive, responsive, and user-friendly admin panels.
Outcome: A Step-by-Step Guide to Using the Admin Pluto Template
The Admin Pluto Template is an excellent choice for developers and businesses looking to build a sophisticated, efficient, and customizable admin panel. This guide will walk you through the steps to get started, customize your template, integrate it with backend services, and ensure that it meets your project requirements.
1. Setting Up the Admin Pluto Template
Step 1: Download and Extract the Template
- Download the Template: Visit a trusted marketplace or the official template website to download the Admin Pluto Template. If you have purchased it, you'll receive a zip file containing all the necessary assets.
- Extract the Files: After downloading, extract the zip file into your project folder. You'll find all essential files, including HTML, CSS, JavaScript, and image assets, neatly organized in separate directories.
Step 2: Install Dependencies
Bootstrap 4: The Admin Pluto Template is built using Bootstrap 4, a powerful front-end framework for creating responsive layouts. Make sure to include Bootstrap's CSS and JavaScript files in your project for the grid system, components, and styling.
Example of including Bootstrap 4 via CDN:
SASS (Optional): The Admin Pluto Template also uses SASS for enhanced styling and customization. If you want to take full advantage of SASS, install it on your local machine or configure it through your build tool (e.g., Webpack or Gulp). Using SASS allows you to modify colors, typography, and other style elements easily.
Step 3: Open the Template
- Preview the Template: Open the index.html file in a browser to get a preview of the template's default look and feel. If you're using an IDE like VS Code, you can also use the live-server feature to instantly see changes as you work on the template.
2. Key Features of the Admin Pluto Template
The Admin Pluto Template is designed with user experience and functionality in mind. Here are some of the key features:
Responsive Design
- Mobile-Friendly Layout: The template is built with a mobile-first approach. The layout is fully responsive, meaning it adapts perfectly to various screen sizes, from smartphones to desktop monitors.
- Fluid Grid System: Using Bootstrap's grid system, the template ensures that elements adjust fluidly based on the screen size. This makes the admin panel easy to navigate on devices of any size.
Modern UI Components
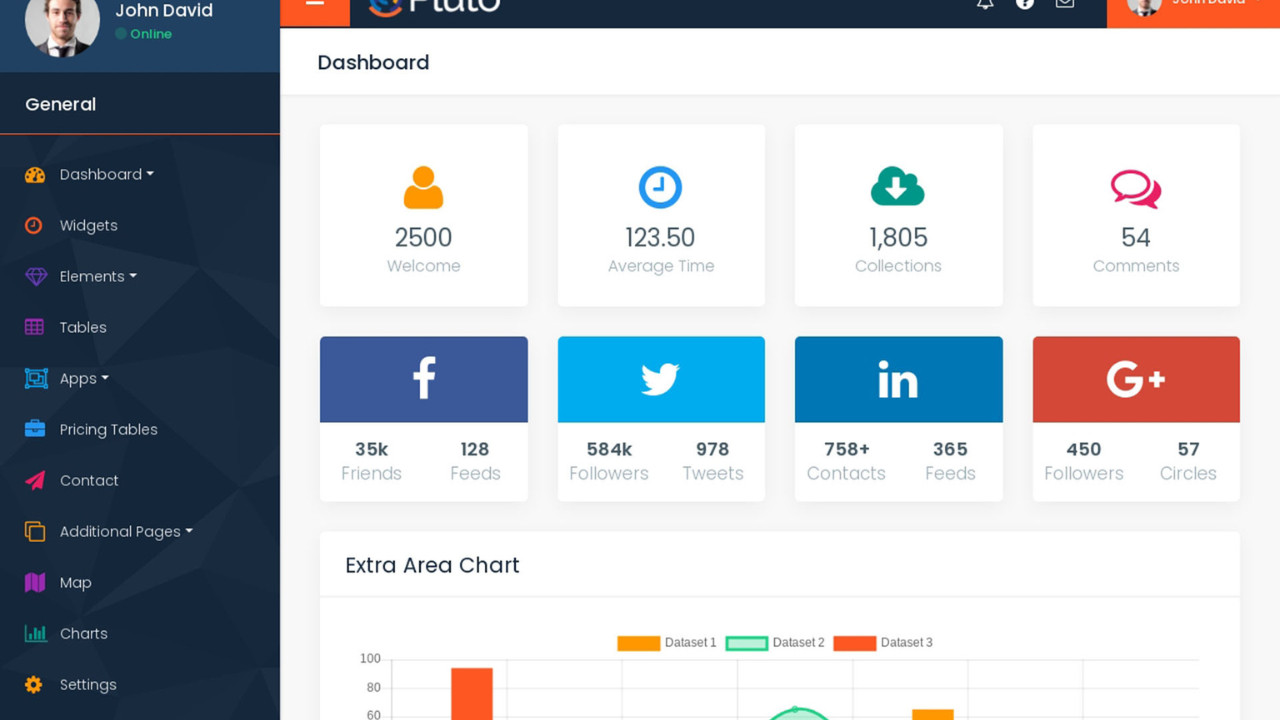
- Material Design Components: The template integrates Material Design components, giving the admin dashboard a sleek, modern look. You get access to beautifully designed cards, buttons, modals, and input fields for a professional appearance.
- Pre-Built Widgets: The template offers a variety of pre-built widgets like charts, data tables, statistics boxes, and form elements that you can easily customize and use for your admin dashboard.
Customizable Sidebar and Navigation
- Collapsible Sidebar: The template features a collapsible sidebar, which helps you create a clean and uncluttered interface. Users can easily expand or collapse the sidebar, saving screen space and improving navigation.
- Multi-Level Dropdown Navigation: The sidebar supports multi-level navigation, making it suitable for applications with complex hierarchical structures.
User Authentication Pages
- Login and Registration Pages: The template comes with pre-designed login, registration, and forgot password pages. This makes it simple to integrate user authentication and get your admin dashboard up and running quickly.
- Error Pages: You also get custom 404 and 500 error pages, which can help maintain a consistent user experience even when users encounter errors.
3. Customizing the Admin Pluto Template
One of the best things about the Admin Pluto Template is its ease of customization. Whether you want to change the color scheme, modify the layout, or add new components, here’s how you can do it:
Step 1: Modify the Color Scheme
Use SASS for Easy Customization: If you're using SASS, you can easily change the primary and secondary colors, typography, and other styling elements by modifying the SASS variables.
Example to change the primary color in SASS:
CSS Overrides: If you're not using SASS, you can also modify the template’s CSS directly. The Admin Pluto Template allows you to change the default color scheme by editing the CSS files.
Example:
Step 2: Adjust Layout and Components
Sidebar Customization: You can easily modify the sidebar’s layout by changing its size, position, or behavior. If you prefer a fixed sidebar, you can adjust the HTML and CSS accordingly.
Example:
Rearrange Widgets: Use Bootstrap's grid system to adjust the positioning of widgets and data tables. For example, you can move widgets around or change their size to accommodate more information.
Step 3: Add or Remove Pages
Create New Pages: To add new pages like user management, settings, or reports, create new HTML files and link them to the sidebar or top navigation bar.
Example:
Modify Existing Pages: You can also adjust existing pages, such as dashboard, profile, or charts, to suit the needs of your project.
4. Backend Integration
To make the Admin Pluto Template fully functional, you need to integrate it with your backend system for handling dynamic data. Here’s how you can do that:
Step 1: Choose a Backend Framework
- Node.js with Express: One option for integrating the admin dashboard with a backend is using Node.js with Express. This setup allows you to handle API requests, serve dynamic data, and manage sessions.
- Laravel: If you prefer PHP, Laravel is an excellent choice for building scalable backend applications that integrate seamlessly with the Admin Pluto Template.
Step 2: Fetch Dynamic Data
AJAX Requests: Use AJAX to fetch real-time data from the backend and display it on your dashboard. This allows the page to update dynamically without requiring a full page reload.
Example of an AJAX request:
Step 3: Real-Time Data Updates
- WebSockets: For live data updates, such as notifications or stock prices, you can integrate WebSockets. This allows your admin panel to push real-time updates without refreshing the page.
Step 4: Integrate Third-Party APIs
- The Admin Pluto Template can also be extended by integrating third-party APIs. For example, you can integrate Google Analytics for tracking website performance or Mailchimp for email marketing.
5. Security Considerations
Ensuring the security of your admin panel is critical, especially if you're handling sensitive data. Follow these best practices:
Step 1: Implement Secure Authentication
- Use JWT (JSON Web Tokens) or OAuth for secure user authentication. This ensures that only authorized users can access your admin dashboard.
Step 2: Implement Role-Based Access Control
- Implement role-based access control (RBAC) to limit what different users can do. For example, admins may have full access, while regular users might only be able to view data.
Step 3: Use HTTPS for Secure Communication
- Ensure that all communication between the frontend and backend is encrypted using SSL/TLS. This ensures that sensitive data, such as user credentials, is transmitted securely.
6. Documentation and Support
The Admin Pluto Template comes with detailed documentation to guide you through the setup process. Here’s what you can expect from the documentation:
- Installation Guides: Step-by-step instructions for setting up the template and all its dependencies.
- Customization Tips: Advice on how to change colors, layouts, and components to suit your project.
- API Integration: Guides on how to integrate the template with backend APIs for real-time data.
- Support: Access to customer support in case you run into any issues during setup or development.
7. Conclusion
The Admin Pluto Template is a powerful, customizable, and feature-rich solution for building modern admin panels. With its user-friendly interface, responsive design, and seamless integration with backend systems