Free Download Admin Material Tailwind Template
The Admin Material Tailwind Template is a modern, sleek, and highly customizable admin dashboard built with the combination of Material Design and the Tailwind CSS framework. Offering a smooth, intuitive user interface, it’s designed to deliver a clean and responsive experience for managing web applications with ease.
Introduction:
The Admin Material Tailwind Template is a modern, sleek, and highly customizable admin dashboard built with the combination of Material Design and the Tailwind CSS framework. Offering a smooth, intuitive user interface, it’s designed to deliver a clean and responsive experience for managing web applications with ease.
Outcome: A Step-by-Step Guide to Using the Admin Material Tailwind Template
The Admin Material Tailwind Template merges the best of both worlds: Material Design aesthetics and the utility-first design principles of Tailwind CSS. It is perfect for developers who want an easy-to-use, visually appealing admin dashboard without compromising on performance. This guide will help you set up, customize, and fully leverage the features of the Admin Material Tailwind Template.
1. Setting Up the Admin Material Tailwind Template
Step 1: Download the Template
- Download the Template: Start by downloading the Admin Material Tailwind Template from an official marketplace or repository like ThemeForest or GitHub.
- Extract the Files: After downloading the file, unzip it and place the extracted folder in your desired project directory on the server or local development environment.
Step 2: Install Required Dependencies
Tailwind CSS: Since the template uses Tailwind CSS, ensure you have Node.js installed on your machine. Use a package manager like npm or yarn to install Tailwind and its dependencies.
PostCSS & Autoprefixer: Additionally, install PostCSS and Autoprefixer to enable the processing of the Tailwind CSS files.
Step 3: Build the Tailwind CSS
Once all dependencies are installed, use the Tailwind CLI to build the CSS by running:
This will create a production-ready tailwind.css file that you can include in your HTML.
Step 4: Launch the Template
- After everything is set up, open the index.html file in your browser to view the template. If you're working in a local environment, you can launch a server to view it on a local URL.
2. Features of the Admin Material Tailwind Template
The Admin Material Tailwind Template comes with a range of modern features and design elements that make it a powerful tool for web application management. Let’s explore its standout features:
Responsive Design
- Mobile-First: Built with Tailwind CSS, the template ensures that it is fully responsive, providing a seamless experience across devices from desktop to mobile.
- Fluid Layout: The layout adjusts dynamically based on screen size, giving users an optimized viewing experience regardless of the device they are using.
Material Design Aesthetic
- Clean & Intuitive UI: The template follows the principles of Material Design, resulting in a visually appealing and user-friendly interface with elements such as cards, buttons, and floating action buttons (FABs).
- Elevated UI Elements: Material design's signature elevated components, including buttons, cards, and modals, give the admin dashboard a modern look and feel.
Customizable Components
- UI Components: The template includes a wide variety of UI components, such as form inputs, checkboxes, dropdowns, modals, tabs, and pagination elements, making it easier to build sophisticated interfaces.
- Custom Themes: Since the template uses Tailwind CSS, it offers easy access to configuration files for theme customization, so you can quickly adapt the design to fit your branding.
Dashboard Widgets
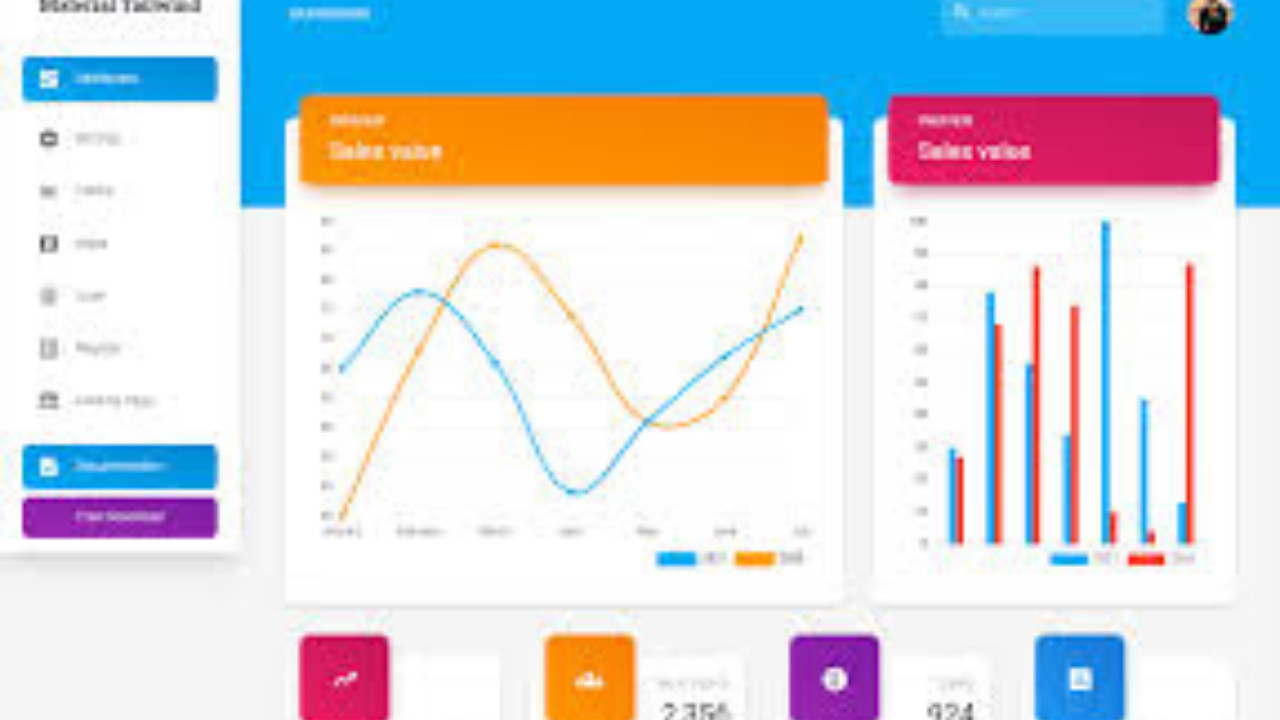
- Real-Time Data Visualization: The dashboard features widgets such as charts, tables, and statistics cards that allow you to monitor and visualize live data, such as sales, website traffic, and system health.
- Interactive Charts: The Admin Material Tailwind Template supports integration with charting libraries like Chart.js and ApexCharts, making it easy to create dynamic, interactive charts.
User and Role Management
- Role-Based Access: The template supports role-based access control (RBAC), allowing you to define roles for different users (such as admin, user, or manager) and restrict access to certain areas of the admin panel.
- User Profiles: Manage user accounts and profiles directly from the admin panel. You can view details such as activity logs, permissions, and roles.
3. Customizing the Admin Material Tailwind Template
The Admin Material Tailwind Template is highly customizable, giving you full control over its appearance and functionality.
Step 1: Modify the Color Scheme
- Tailwind CSS Configuration: To customize the template’s color scheme, edit the tailwind.config.js file. Here, you can adjust the primary and secondary colors, set new color shades, and modify other aspects of the design.
- Material Theme: The template comes with Material Design-inspired color palettes, but you can switch to custom colors that better match your brand.
Step 2: Layout Adjustments
- Sidebar Customization: Tailwind makes it easy to adjust the sidebar layout. You can enable or disable fixed sidebars, set the sidebar to auto-hide, or even toggle between horizontal or vertical navigation layouts.
- Container Width: The container width is customizable via Tailwind’s utility classes. You can adjust the max-width and spacing for the dashboard content to suit your needs.
Step 3: Add New Components or Pages
- Create New Pages: If you need additional pages (such as reports, analytics, or a settings page), you can easily create new HTML pages and add them to the template structure.
- New Components: Add new widgets or components like custom tables, graphs, or forms by using Tailwind CSS classes. These components can be customized with various states and actions, like hover effects and transitions.
4. Backend Integration and API Usage
To make the Admin Material Tailwind Template functional for live applications, you can integrate it with your backend system.
Step 1: Database Integration
- Backend Framework: You can integrate the template with your backend of choice, whether it’s built using Node.js, PHP, Python, or another technology stack.
- Data Binding: Use APIs to bind dynamic data to the components of the dashboard, such as user statistics, sales reports, or system logs.
Step 2: API Integration
- External APIs: Integrate third-party services like weather data, payment gateways, or social media analytics by connecting the template to external APIs.
- Internal APIs: If you're working with a custom backend, build APIs to serve dynamic data to the front-end, ensuring that the dashboard stays up to date.
Step 3: Real-Time Updates
- AJAX: Implement AJAX to fetch live data from your backend without reloading the page. This is essential for features like live chat, real-time notifications, and live monitoring of website metrics.
- WebSockets: For even faster updates (such as notifications or user activity monitoring), implement WebSockets to push updates directly to the dashboard.
5. Security Features
Security is an important aspect of any admin dashboard. The Admin Material Tailwind Template includes several security features, and you can enhance them further by following these steps:
Step 1: Secure Authentication
- JWT (JSON Web Token): Use JWT for secure authentication. This allows you to handle login and user sessions securely.
- OAuth: Integrate OAuth for third-party authentication systems (e.g., Google, Facebook) to simplify user logins.
Step 2: Role-Based Access Control
- Permissions: Leverage role-based access control (RBAC) to assign different levels of access for different users. For example, you can restrict certain pages or functions to admins only.
- Access Logs: Track user activity and monitor login attempts to prevent unauthorized access.
Step 3: Encryption
- Data Encryption: Ensure all sensitive data (such as passwords and payment information) is encrypted, both in transit (using SSL/TLS) and at rest.
- Secure Communication: Use HTTPS to encrypt communication between your frontend (admin dashboard) and the backend server.
6. Documentation and Support
The Admin Material Tailwind Template comes with comprehensive documentation to guide you through every step of setup, customization, and integration. The documentation covers:
- Installation: A step-by-step guide for setting up the template and its dependencies.
- Customization: Clear instructions on how to modify themes, layouts, and components.
- API Integration: Detailed guidance on connecting the template to backend systems and APIs.
- Support: Access to community forums and official support channels if you need further assistance.
7. Conclusion
The Admin Material Tailwind Template is a highly versatile, modern admin panel solution that combines the design principles of Material Design with the utility-first nature of Tailwind CSS. Its responsive layout, interactive dashboards, and easy-to-customize components make it an ideal choice for developers looking to create powerful and aesthetically pleasing web applications. By following this guide, you can quickly get the template up and running, customize it to meet your specific needs, and integrate it into your backend to create a fully functional admin interface.