Free Download Admin Elegant Dashboard Template
The Admin Elegant Dashboard Template is a sleek, feature-rich admin panel template designed to provide an intuitive and aesthetically pleasing user interface for managing web applications. With its clean design, customizable components, and responsive layout, this template helps developers and administrators create highly functional and beautiful admin dashboards with ease.
Introduction:
The Admin Elegant Dashboard Template is a sleek, feature-rich admin panel template designed to provide an intuitive and aesthetically pleasing user interface for managing web applications. With its clean design, customizable components, and responsive layout, this template helps developers and administrators create highly functional and beautiful admin dashboards with ease.
Outcome: A Step-by-Step Guide to Using the Admin Elegant Dashboard Template
The Admin Elegant Dashboard Template is a modern and flexible admin panel solution perfect for a variety of web applications. From data visualization to user management, it simplifies complex tasks and presents them in an elegant, organized manner. In this guide, we’ll walk you through the setup, customization, features, and usage of the Admin Elegant Dashboard Template, step by step.
1. Setting Up the Admin Elegant Dashboard Template
Before diving into the features and customization, let’s go through the initial steps to set up the Admin Elegant Dashboard Template:
Step 1: Download the Template
- Get the Template: Begin by downloading the Admin Elegant Dashboard Template from the official website or a marketplace like ThemeForest.
- Extract Files: After downloading, unzip the template package and place the extracted folder in the desired directory on your server or local machine.
Step 2: Install Dependencies
- Required Libraries: The template may require additional libraries, such as jQuery, Bootstrap, FontAwesome, and other JavaScript components. Check the template documentation for a complete list of necessary dependencies.
- Backend Setup: If your project requires dynamic content (e.g., database integration), set up your backend using technologies like Node.js, PHP, or Python to handle server-side tasks.
Step 3: Launch the Template
- Open the directory in your browser to access the admin dashboard. If you're using a local server, simply go to
localhostor your designated server URL. The dashboard should now be up and running.
2. Features of the Admin Elegant Dashboard Template
The Admin Elegant Dashboard Template comes with a variety of features to help manage web applications effectively. Let’s explore its most notable functionalities:
Responsive and Mobile-First Design
- Cross-Device Compatibility: The template is fully responsive, ensuring that the admin panel works seamlessly across different devices, including desktop, tablet, and mobile.
- Fluid Layout: The layout adapts dynamically to the user’s screen size, providing a smooth and consistent experience.
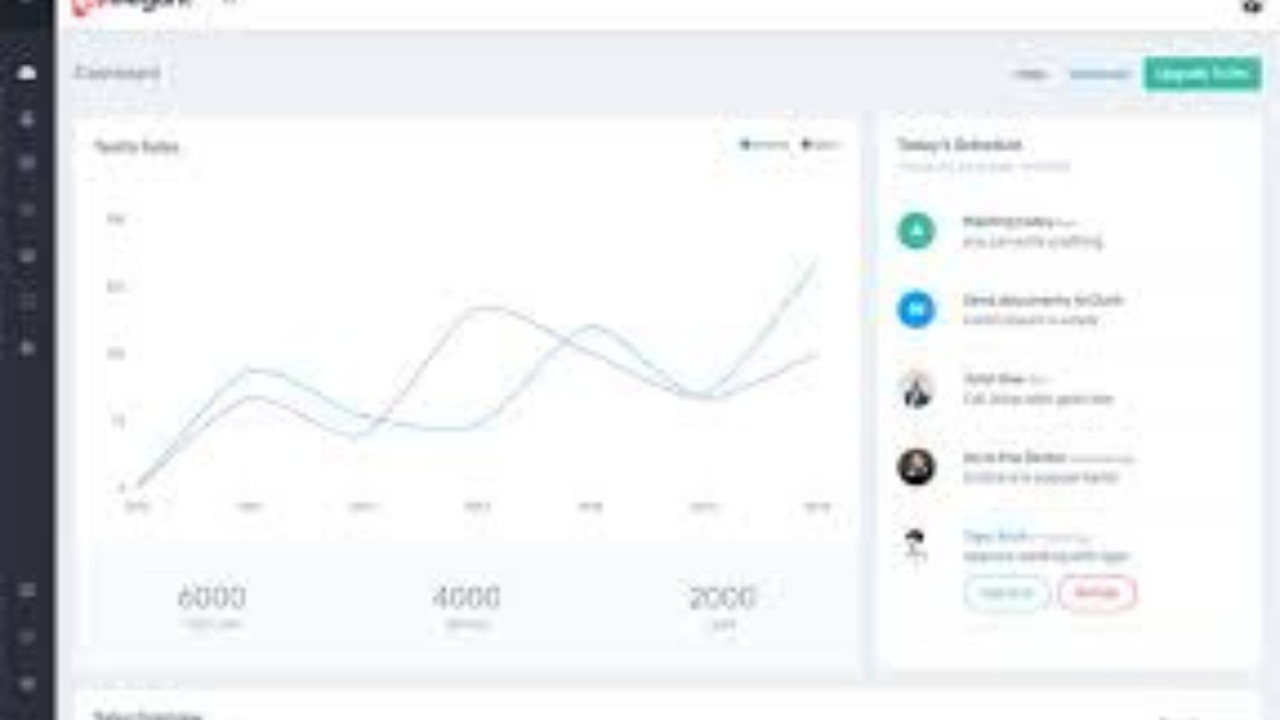
Interactive Dashboard with Real-Time Analytics
- Performance Visualization: The dashboard provides real-time data updates, including user activity, sales performance, traffic analysis, and more. This allows administrators to monitor key metrics effortlessly.
- Charts and Graphs: Use built-in charts like line, bar, and pie charts to visualize data. The charts are interactive, allowing users to hover, zoom, and explore the data in-depth.
- Customizable Widgets: Pre-designed widgets display essential metrics like recent activities, system health, task progress, and more. These widgets can be customized to fit your specific needs.
Pre-Built UI Components
- Forms: The template includes a variety of customizable form components, such as text inputs, date pickers, file uploaders, checkboxes, and radio buttons. These help users enter data efficiently.
- Tables: Display large sets of data in a clean, organized table format. The tables support features like pagination, filtering, and sorting to manage data effectively.
- Icons and Buttons: The template comes with a comprehensive set of icons and buttons that can be used for navigation, user actions, and other interactions.
Role-Based Access Control (RBAC)
- User Roles and Permissions: The Admin Elegant Dashboard Template allows you to define custom user roles (such as Admin, Manager, and User) with specific access levels. This helps you control who can see or edit particular data and settings.
- User Profiles: Manage user profiles, update information, and track activity from the admin panel.
3. Customizing the Admin Elegant Dashboard Template
The Admin Elegant Dashboard Template is highly customizable, allowing you to tailor it to suit the branding and functionality needs of your application. Here’s how you can customize it:
Step 1: Modify the Color Scheme
- Predefined Themes: The template comes with predefined color themes, including light and dark modes. You can easily switch between these modes to find the one that fits your branding.
- Custom Colors: If you prefer to create a unique look, you can modify the CSS to adjust the color palette of the template. Change primary and secondary colors, text, background, and other style elements.
Step 2: Layout Customization
- Flexible Layout Options: Choose between vertical or horizontal navigation layouts. Depending on your design preference, you can select the layout that best suits your project.
- Sidebar Configuration: The sidebar is customizable and can be set to auto-hide, collapse, or remain fixed. You can also add custom menu items and organize them to improve navigation.
Step 3: Adding New Components
- Custom Pages: If your project requires extra pages (such as user settings, a detailed reports page, or a contact form), you can easily create new pages and integrate them into the template.
- Widgets: Add new widgets to the dashboard to display custom data or key metrics relevant to your application. You can also modify existing widgets to display the information most important to you.
4. Backend Integration and API Usage
The Admin Elegant Dashboard Template works seamlessly with backend systems and APIs. Follow these steps to integrate the template with your backend:
Step 1: Database Integration
- Database Setup: If you are using a backend system that involves data storage, connect the template to a database such as MySQL, MongoDB, or PostgreSQL. This will allow you to fetch dynamic data for your dashboard.
- Backend Configuration: Use server-side technologies such as Node.js, PHP, or Ruby on Rails to handle backend logic and interact with the database.
Step 2: API Integration
- Connect to External APIs: The template allows you to integrate external APIs to display real-time data. For example, you can integrate social media APIs, weather services, or financial data.
- Internal APIs: For managing internal data (e.g., users, orders, system logs), you can create custom APIs to send data to the template and update the dashboard dynamically.
Step 3: Real-Time Data Updates
- AJAX: Use AJAX to make real-time updates to your dashboard. This will allow you to fetch new data and update widgets or charts without requiring a page refresh.
- WebSockets: For more interactive features, such as live chat or activity monitoring, you can implement WebSockets to establish real-time communication between the client and server.
5. Security Features
Securing your admin dashboard is crucial, and the Admin Elegant Dashboard Template comes with several built-in security features. Here’s how you can further enhance the security of your dashboard:
Step 1: Role-Based Access Control
- User Authentication: Implement secure user authentication mechanisms such as JWT (JSON Web Tokens) or OAuth to ensure that only authorized users can access sensitive data and features.
- Permissions: Define specific user roles and set permissions to control who can access certain pages or perform specific actions within the dashboard.
Step 2: Data Encryption
- Secure Communication: Always use SSL/TLS encryption for secure data transmission between the client and server.
- Database Encryption: Encrypt sensitive information stored in your database, such as user passwords or financial data, to prevent unauthorized access.
Step 3: Protect Against Attacks
- Cross-Site Scripting (XSS) and CSRF Protection: Implement measures to protect against XSS and Cross-Site Request Forgery (CSRF) attacks by validating inputs and securing session tokens.
- Regular Security Audits: Perform regular security audits to ensure your template and backend are free from vulnerabilities.
6. Documentation and Support
The Admin Elegant Dashboard Template includes comprehensive documentation that provides clear instructions on installation, customization, and backend integration:
- Installation Guide: Step-by-step instructions to get the template up and running on your server.
- Customization Tips: Guidance on how to change themes, layouts, and components.
- Backend Integration: Detailed information on connecting the template to databases and APIs.
- Support: Access to support resources, including community forums and technical assistance, to help with any issues you might encounter.
7. Conclusion
The Admin Elegant Dashboard Template is a powerful, user-friendly solution for developers looking to create professional and modern admin dashboards. With its responsive design, real-time analytics, customizable components, and security features, it helps streamline web application management. By following the steps outlined in this guide, you can easily set up, customize, and integrate the Admin Elegant Dashboard Template into your projects to create a seamless and efficient administrative interface.