Free Download Admin Dash UI Template
The Admin Dash UI Template is a sleek, modern, and highly customizable admin dashboard designed for building interactive and visually appealing backend interfaces. Equipped with a variety of pre-designed components and layouts, this template allows developers to create sophisticated and user-friendly admin panels with ease.
Introduction:
The Admin Dash UI Template is a sleek, modern, and highly customizable admin dashboard designed for building interactive and visually appealing backend interfaces. Equipped with a variety of pre-designed components and layouts, this template allows developers to create sophisticated and user-friendly admin panels with ease.
Outcome: A Step-by-Step Guide to Using the Admin Dash UI Template
The Admin Dash UI Template provides an intuitive and responsive solution for managing web applications or content management systems. In this guide, we will explore the features, installation steps, customization options, and backend integration techniques to help you leverage the full potential of this template.
1. Setting Up the Admin Dash UI Template
Step 1: Download and Extract the Template
- Download: Visit a trusted marketplace like ThemeForest or the official source for the Admin Dash UI Template and download it.
- Extract the Files: Once downloaded, extract the contents of the ZIP file into your project directory. You will have access to HTML files, CSS files, JavaScript, and various assets like images and icons.
Step 2: Install Necessary Dependencies
Bootstrap 4 or 5: The Admin Dash UI Template is built using Bootstrap, which enables mobile-first, responsive layouts. Ensure the Bootstrap CSS and JavaScript files are included in your project.
Example of including Bootstrap 5:
Additional Libraries: Depending on the template's functionality, you may also need to include libraries for charts (like Chart.js or ApexCharts) or jQuery for dynamic content loading. These libraries are essential for adding interactivity to the dashboard.
Step 3: Preview the Template
- Open the Template: Open the index.html file in a web browser to preview the layout and design. You will see the default structure, which includes the sidebar, navigation bar, and content area.
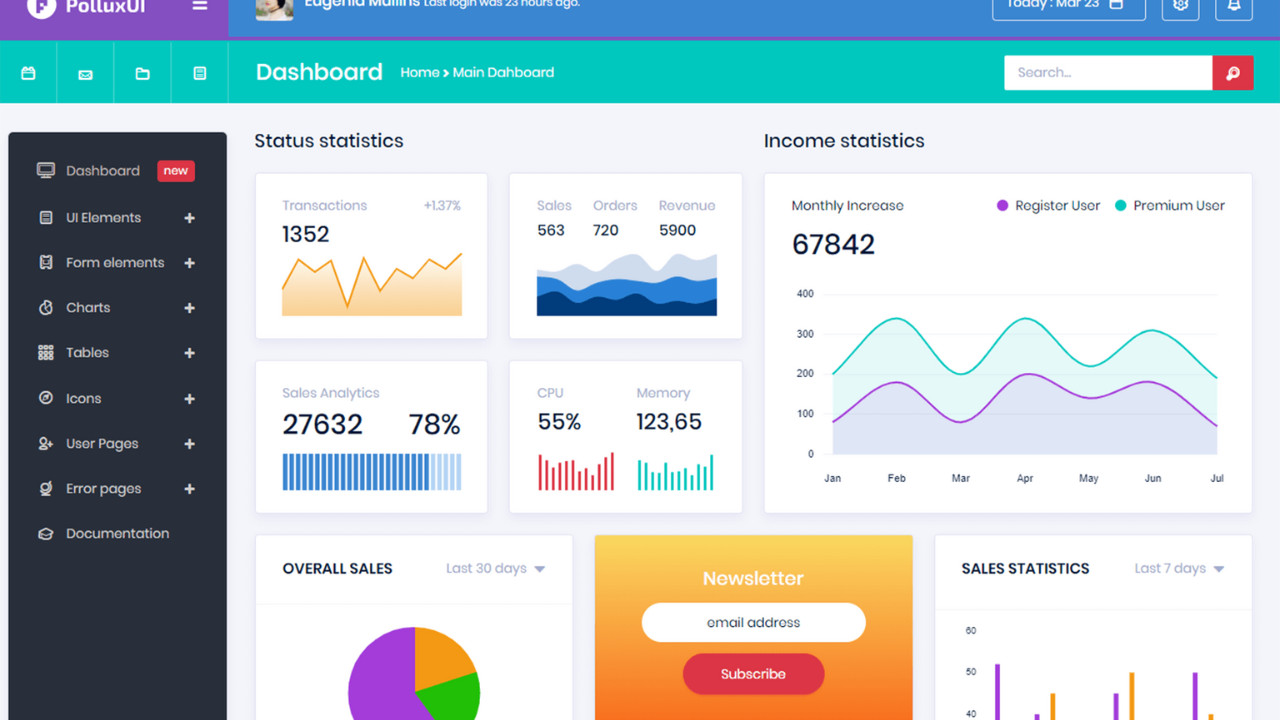
2. Key Features of the Admin Dash UI Template
The Admin Dash UI Template offers a variety of components, layouts, and tools to enhance the functionality and visual appeal of your admin panel. Some of the main features include:
Responsive Design
- Mobile-Friendly: The template is fully responsive, ensuring that the layout adapts well to various screen sizes, from mobile phones to large desktop monitors.
- Grid System: Built on Bootstrap’s grid system, the template allows easy customization of columns and layouts based on screen size.
Pre-Designed UI Components
- Buttons and Alerts: The template includes a range of pre-styled buttons, alerts, and notifications for easy implementation in your admin panel.
- Forms: The template provides well-designed input fields, checkboxes, radio buttons, and select boxes to create efficient forms for user input and data collection.
- Modals and Popups: Admin Dash UI comes with modals and popups for displaying additional information or receiving user input without navigating away from the current page.
Interactive Data Visualizations
- Charts and Graphs: The template includes various chart types (e.g., line charts, bar charts, pie charts) using Chart.js or ApexCharts to display data analytics and trends.
- Tables: The template also offers sortable, paginated tables for managing large datasets efficiently. You can easily add new rows or update data dynamically.
Sidebar and Navigation Customization
- Collapsible Sidebar: The sidebar is collapsible, which allows for a more compact view when users need more space on the dashboard. You can also add multi-level dropdowns in the sidebar to organize complex navigation.
- Sticky Navigation Bar: The top navigation bar remains fixed as users scroll, ensuring that essential controls are always accessible.
Pre-Built Pages
- Authentication Pages: The template comes with pre-built authentication pages such as login, register, and forgot password, making it easy to integrate secure login systems.
- Error Pages: Built-in 404 and 500 error pages offer a consistent user experience when navigating to a missing or broken page.
3. Customizing the Admin Dash UI Template
Customizing the Admin Dash UI Template is straightforward due to its modular design. Here's how you can adjust various elements to suit your needs:
Step 1: Modify the Color Scheme
SASS Variables: If the template uses SASS, you can modify the global color variables to adjust the primary and secondary colors, as well as the background and text colors.
Example of customizing a color:
CSS: If you're using regular CSS, modify the appropriate stylesheets to adjust the colors, fonts, and other global properties.
Step 2: Layout Customization
Sidebar: Customize the sidebar by changing its width, background color, or content. You can also add custom links or icons as needed.
Example:
Dashboard Widgets: The template comes with a variety of widgets that display statistics, recent activity, or charts. You can rearrange the widgets or add new ones to meet your needs.
Step 3: Add New Pages
If your application requires additional pages, such as User Profiles, Settings, or Reports, you can create new HTML files and link them to the sidebar or top navigation menu.
Example:
Step 4: Customize Modals and Alerts
- You can modify the modals and alerts to display customized messages or forms. Whether you need a warning popup or a success message after an action, the built-in modals can be styled and controlled easily.
4. Backend Integration
Integrating the Admin Dash UI Template with your backend is essential for adding dynamic content and real-time data visualization. Here's how you can do it:
Step 1: Choose a Backend Framework
- Node.js with Express: A popular choice for building RESTful APIs. You can use Node.js to handle requests and Express for routing.
- PHP and Laravel: If you're comfortable with PHP, the Laravel framework makes it easy to build secure and robust backend systems.
Step 2: Fetch Dynamic Data
Use AJAX, Fetch API, or Axios to fetch data from your backend system and update the dashboard in real time.
Example of using AJAX to get data:
Step 3: Implement Real-Time Data with WebSockets
- If you need live updates, you can integrate WebSockets to send real-time data to the dashboard. This is useful for notifications, live charts, or other dynamic data feeds.
Step 4: API Integration
- You may also want to integrate third-party services via APIs, such as Google Analytics for traffic data or Stripe for payment processing.
5. Security Best Practices
When using the Admin Dash UI Template, it’s important to ensure that the dashboard is secure and only accessible to authorized users:
Step 1: Implement Authentication
- Use JWT (JSON Web Tokens) or OAuth for secure user authentication. Only authenticated users should have access to the dashboard.
Step 2: Role-Based Access Control (RBAC)
- Implement role-based access control (RBAC) to ensure that different users (e.g., admins, managers, regular users) have different levels of access.
Step 3: Use HTTPS
- Always use HTTPS to encrypt communication between the server and the client, especially for sensitive actions like logging in or making payments.
6. Documentation and Support
The Admin Dash UI Template comes with comprehensive documentation that provides:
- Installation Instructions: A step-by-step guide to getting the template set up on your local machine or server.
- Customization Instructions: Detailed guidance on customizing various parts of the template, including colors, layout, and components.
- Integration Tips: Information on how to integrate the template with your backend system, APIs, and third-party services.
- Support: Access to customer support in case you encounter any issues or need help with advanced customization.
7. Conclusion
The Admin Dash UI Template is an excellent choice for developers who want to build modern, responsive, and customizable admin dashboards. With its pre-designed components, interactive charts, and easy-to-use layout system, this template is ideal for creating a robust back-end interface that is both functional and visually appealing. By following this guide, you can easily set up, customize, and integrate the template into your project.