Free Download Admin Connect Plus template
The Admin Connect Plus Template is a feature-rich and visually stunning admin dashboard template designed to provide a seamless user experience. Built with Bootstrap 4 and SASS, this template offers a highly customizable layout with a modern and professional design, making it ideal for businesses and developers looking to build efficient and user-friendly admin panels.
Introduction:
The Admin Connect Plus Template is a feature-rich and visually stunning admin dashboard template designed to provide a seamless user experience. Built with Bootstrap 4 and SASS, this template offers a highly customizable layout with a modern and professional design, making it ideal for businesses and developers looking to build efficient and user-friendly admin panels.
Outcome: A Step-by-Step Guide to Using the Admin Connect Plus Template
The Admin Connect Plus Template is perfect for users who need a professional and easily customizable dashboard for managing web applications. Below is a comprehensive guide to getting started with the template, customizing it to fit your needs, integrating it with backend services, and ensuring a secure and seamless user experience.
1. Setting Up the Admin Connect Plus Template
Step 1: Download and Extract the Template
- Download the Template: First, purchase or download the Admin Connect Plus Template from a trusted source like ThemeForest or its official website.
- Extract the Template Files: Once downloaded, extract the files to your project folder. This will include HTML files, CSS stylesheets, JavaScript files, and image assets, all neatly organized in separate folders.
Step 2: Install Dependencies
Bootstrap 4: The Admin Connect Plus Template is built on Bootstrap 4, a popular front-end framework that provides responsive grid systems, UI components, and layout structures. Make sure you include the necessary Bootstrap CSS and JavaScript files.
Example of including Bootstrap 4:
SASS (Optional): The template uses SASS for better customization of styles. If you're familiar with SASS, it allows you to modify variables, colors, and typography quickly and efficiently. You can install SASS or use it through your build tools like Webpack.
Step 3: Open the Template
- Preview the Template: Open the index.html file in your browser to see the template’s default layout and design. This will give you a visual representation of how the template looks and functions out of the box.
2. Key Features of the Admin Connect Plus Template
The Admin Connect Plus Template offers a wide range of features and functionalities to help you create a professional, responsive, and user-friendly dashboard.
Responsive Design
- Mobile-First Layout: The template is built with a mobile-first approach, ensuring that it adapts seamlessly to any device, whether it's a smartphone, tablet, or desktop computer.
- Fluid Grid System: Thanks to Bootstrap's responsive grid system, the template ensures your dashboard adjusts smoothly, providing an optimal user experience across all screen sizes.
Customizable UI Components
- Material Design Elements: The template includes Material Design elements such as cards, inputs, buttons, modals, and progress bars that give your admin panel a sleek and modern look.
- Form Components: It includes various form elements such as text inputs, date pickers, dropdowns, checkboxes, and switches, all styled to ensure consistency and ease of use.
Pre-Designed Widgets
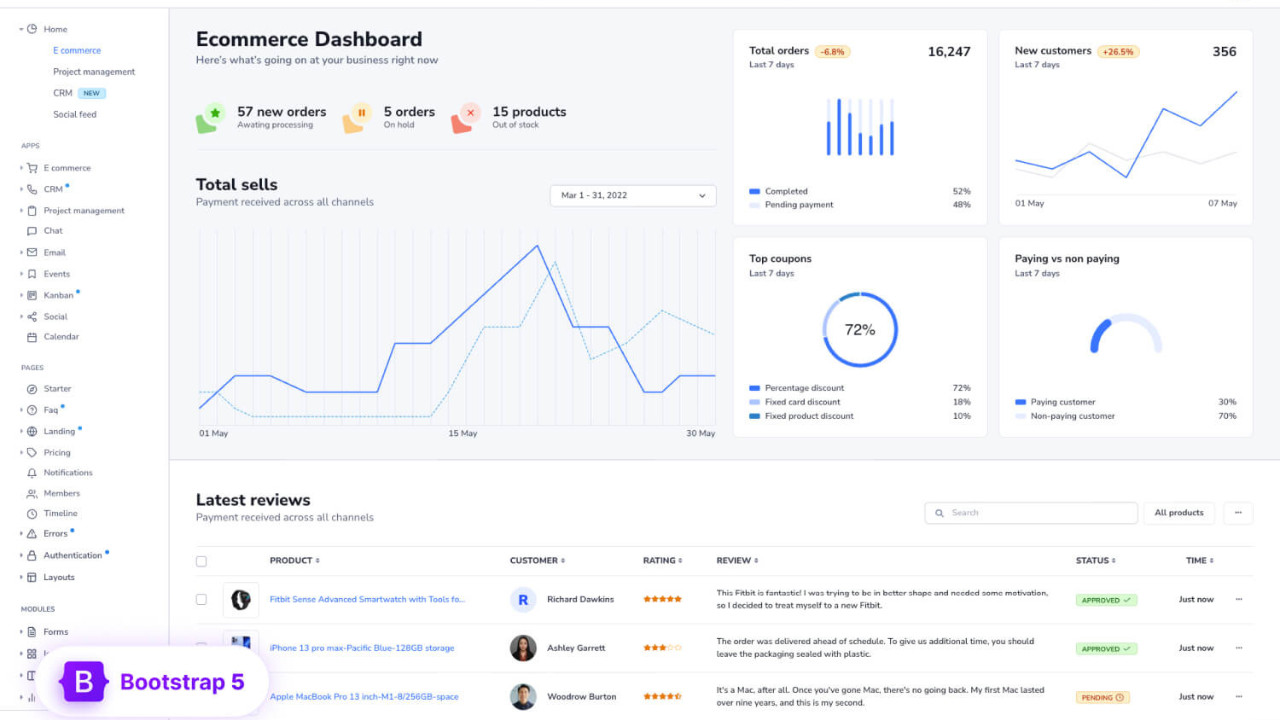
- Charts and Graphs: The template supports integration with chart libraries like Chart.js and ApexCharts, allowing you to display real-time data in visually appealing graphs and charts.
- Data Tables: Use customizable, interactive data tables that can display large amounts of information clearly and concisely. You can sort, filter, and paginate through data easily.
Sidebar and Navigation
- Collapsible Sidebar: The template features a collapsible sidebar, which enhances the navigation experience by providing more screen space when needed. This is particularly useful on smaller devices.
- Multi-Level Dropdowns: The sidebar supports multi-level navigation, making it ideal for dashboards with complex hierarchical structures.
Authentication Pages
- Login/Registration Forms: The template includes pre-designed login, registration, and forgot password pages, making it easy to set up user authentication.
- Error Pages: Custom 404 and 500 error pages are also included, maintaining a consistent experience for users even when an error occurs.
3. Customizing the Admin Connect Plus Template
One of the standout features of the Admin Connect Plus Template is its flexibility and ease of customization. You can tailor the template to your unique needs with the following steps:
Step 1: Modify Colors and Branding
Edit SASS Files: If you're using SASS, you can modify the default variables for colors, font sizes, spacing, and more to match your branding. This gives you full control over the appearance of the admin dashboard.
Example of modifying the primary color:
CSS Customization: If you're not using SASS, you can customize the template by modifying the CSS files directly to change colors, fonts, and other style elements.
Step 2: Rearrange the Layout
Sidebar Customization: The sidebar is highly customizable. You can adjust its width, positioning, or make it fixed on the left side for better navigation. Example:
Widget Layout: Use Bootstrap's grid system to rearrange the widgets on the dashboard, making it easier to showcase important data. You can also adjust the widget sizes and their placement on the page.
Step 3: Add or Remove Pages
Create New Pages: Add new pages such as Settings, User Management, Reports, or Analytics. Just create new HTML files and link them to the sidebar or top navigation.
Example:
Modify Existing Pages: You can modify pre-existing pages, such as the Dashboard or Profile page, to add new content or features that are more suited to your needs.
4. Backend Integration
For your dashboard to work efficiently, you need to integrate it with a backend system that processes data and provides dynamic content. Here’s how you can integrate it:
Step 1: Choose a Backend Framework
- Node.js/Express: If you're using Node.js, Express is a lightweight framework that can easily handle routing, API requests, and integration with the admin panel.
- Laravel: For PHP developers, Laravel is an excellent choice for backend integration, providing secure authentication, database management, and API interactions.
Step 2: Use AJAX to Fetch Dynamic Data
Use AJAX to fetch data from the backend and update the dashboard dynamically. This allows you to show real-time data like user statistics, sales figures, or any other important information without needing to reload the page.
Example:
Step 3: Integrate Real-Time Data with WebSockets
- For real-time updates such as notifications, messages, or data streaming, integrate WebSockets to push updates from the backend to the frontend instantly.
Step 4: Third-Party API Integration
- Integrate third-party services like Google Analytics, Mailchimp, or Stripe for added functionality, such as tracking performance metrics, email marketing, or payment processing.
5. Security Best Practices
Ensuring the security of your Admin Connect Plus Template is essential, especially when handling sensitive data. Here are a few security best practices:
Step 1: Secure Authentication
- Use JWT (JSON Web Tokens) or OAuth for secure and token-based authentication, ensuring that only authorized users can access the admin panel.
Step 2: Role-Based Access Control (RBAC)
- Implement RBAC to limit access based on user roles (admin, editor, viewer). This ensures that only users with appropriate permissions can perform specific tasks.
Step 3: Secure Data Transmission
- Use HTTPS to encrypt the communication between the frontend and backend. This prevents attackers from intercepting sensitive data, like login credentials or payment information.
6. Documentation and Support
The Admin Connect Plus Template comes with detailed documentation that will guide you through the installation, customization, and integration processes. The documentation typically includes:
- Setup Instructions: Step-by-step instructions to help you get started quickly.
- Customization Tips: How to modify the template's appearance and components to match your brand.
- Backend Integration: Guidance on integrating the template with your backend system and APIs.
- Support: Access to customer support for any technical issues or questions you may have.
7. Conclusion
The Admin Connect Plus Template offers an elegant, responsive, and feature-rich solution for building dynamic admin dashboards. With its modern design, customization options, and built-in components, it provides a great foundation for any web application’s backend interface. By following this guide, you can set up, customize, and integrate the template with your backend, making it a valuable tool for managing data and enhancing the user experience.