Introduction:
The Admin AdminKit Template is a highly flexible and user-friendly admin dashboard template designed to simplify the management of complex systems. With its modern design and rich functionality, AdminKit helps streamline workflows, allowing you to focus on managing your project efficiently and effectively.
Outcome: A Step-by-Step Guide to Using the Admin AdminKit Template
The Admin AdminKit Template provides a comprehensive set of features designed for developers and administrators who need an intuitive, easy-to-use interface for managing various web applications. Whether you are running a small business or working on a larger enterprise project, this template can be customized to fit your specific needs. Below is a detailed guide to help you get started with and make the most of the Admin AdminKit Template.
1. Getting Started with the Admin AdminKit Template
Before diving into the features and functionalities of the Admin AdminKit Template, you need to set it up properly. This guide will walk you through the initial setup and configuration process to ensure that everything is in place.
Step 1: Downloading and Installing the Template
- Visit the Source: To begin, download the Admin AdminKit Template from the official website or any platform where it’s available for purchase/download.
- Extract the Files: Once downloaded, extract the ZIP file to your local directory.
- Set Up the Development Environment: If necessary, set up a development environment such as XAMPP, WAMP, or a live server (Apache or Nginx) to run the template.
Step 2: Setting Up Dependencies
- The Admin AdminKit Template may require specific dependencies or libraries. Be sure to check the documentation provided with the template to install required plugins, JavaScript libraries, or CSS frameworks (e.g., Bootstrap, jQuery).
- For some templates, additional configurations like a database connection might be needed. Follow the documentation closely for any backend setup.
Step 3: Launching the Admin Panel
- After setup, open your browser and go to the local server address (typically
localhost) to view the Admin AdminKit Template live in action. - The default login page or dashboard will appear, and you can proceed with personalizing the template according to your needs.
2. Navigating the Admin AdminKit Template Features
The Admin AdminKit Template comes packed with several tools to help you effectively manage and monitor different aspects of your web project. Here's a breakdown of its key features:
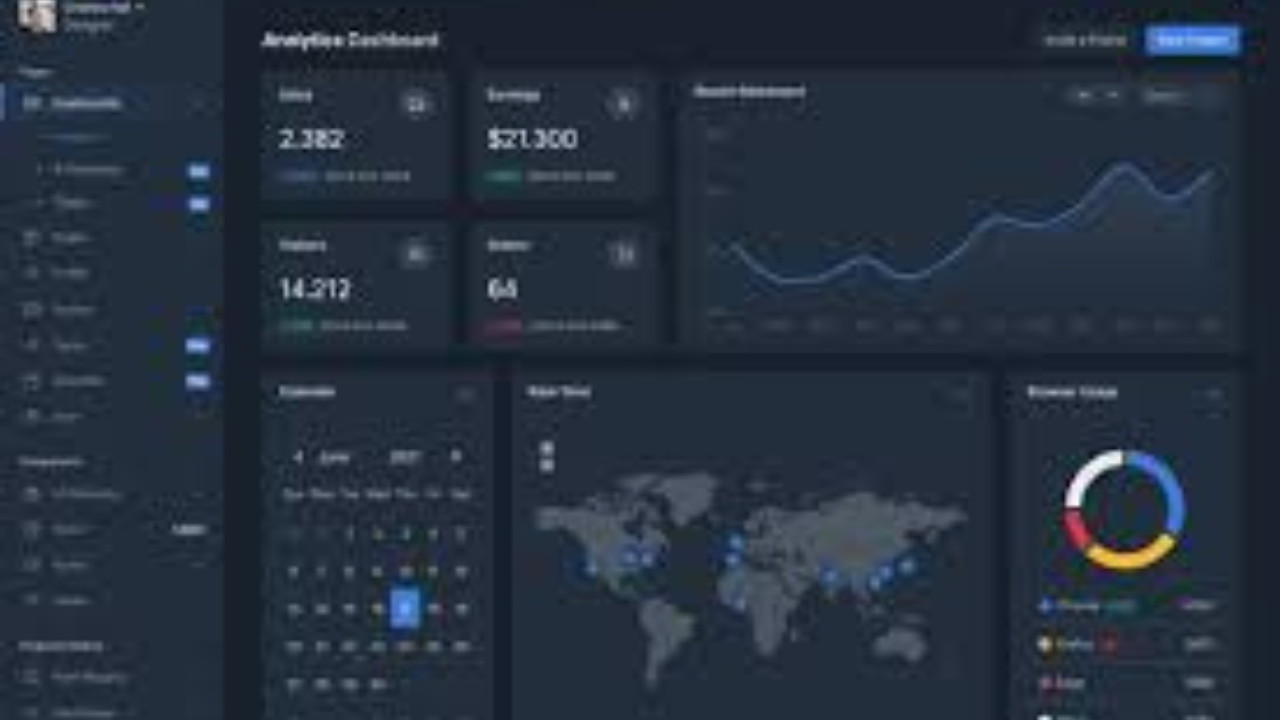
User-Friendly Dashboard
- Overview: The dashboard serves as the main page, giving you a quick snapshot of various metrics, charts, and widgets relevant to your admin activities.
- Custom Widgets: The template offers customizable widgets such as charts, tables, and data cards, which you can personalize based on what information you want to prioritize.
- Real-Time Data: The dashboard can show real-time updates for system performance, user activity, and task statuses.
Responsive Design
- One of the main features of the Admin AdminKit Template is its fully responsive design, making sure that all elements of the admin panel adapt smoothly to different screen sizes.
- Whether you're using a desktop, tablet, or smartphone, the template ensures an optimal experience.
Customizable Themes and Layouts
- Multiple Layout Options: AdminKit offers several layout configurations to choose from, such as horizontal, vertical, and fixed sidebar layouts. You can easily switch between these layouts based on your preference or needs.
- Theme Customization: Customize the color schemes, typography, and visual elements like icons to align the template with your branding or aesthetic preferences.
Built-In Components
The Admin AdminKit Template comes with several pre-designed components to make your admin panel development quicker:
- Tables and Lists: Easily manage and display data in an organized manner using built-in table designs.
- Forms and Inputs: The template includes a variety of form components such as input fields, checkboxes, radio buttons, and dropdowns for collecting data from users or admins.
- Icons and Buttons: Use custom icons and buttons that fit seamlessly within the theme to enhance the user experience.
User Management
- Role-Based Access Control: Create user roles and assign permissions to each based on the responsibilities they have. Admin users can manage other users, including adding, removing, and modifying their permissions.
- User Profile: View detailed user profiles, including activity logs, statistics, and other key information about each user.
- Authentication: Built-in authentication mechanisms, such as login pages and password recovery options, ensure secure access control.
Advanced Data Analytics and Reporting
- Charts and Graphs: AdminKit supports various types of charts (bar, line, pie, etc.), allowing you to display analytical data visually. You can track performance, sales, or other metrics over a period of time.
- Data Filtering and Search: Easily filter and search through large datasets to find the information you need, enhancing workflow efficiency.
3. Customizing the Admin AdminKit Template
While the template is ready to go out-of-the-box, it offers plenty of customization options for those who want to tailor the admin panel to their specific needs.
Step 1: Customizing the User Interface
- Color Themes: Choose from several predefined color schemes or create your own. You can also adjust CSS to modify the color palette, typography, and visual elements.
- Layout Adjustments: Adjust the sidebar, header, and footer to ensure the layout fits your organizational requirements. You can make the sidebar collapsible, switch the layout between fixed or fluid, or modify the number of columns.
Step 2: Adding Custom Pages
- Page Templates: The Admin AdminKit Template includes several ready-made pages such as login screens, user management pages, and profile pages. You can duplicate and modify these pages to fit your project’s needs.
- Custom Page Creation: For advanced users, you can create entirely new pages by extending the template’s structure. Add new routes, pages, and components as needed.
Step 3: Integration with External Services
- API Integration: Admin AdminKit supports integrating with external APIs to pull in live data. This can be used to display real-time metrics or synchronize with third-party applications.
- Database Integration: If your project requires backend storage, AdminKit can integrate with a database system (MySQL, PostgreSQL, etc.) to store and retrieve data dynamically.
4. Security and Performance Optimization
Ensuring that the Admin AdminKit Template is secure and performs optimally is crucial. The template comes with several built-in features to protect your data and optimize your experience:
Security Features
- Password Encryption: Sensitive user data, such as passwords, are encrypted, ensuring that unauthorized users cannot access private information.
- User Authentication: The template supports strong user authentication systems, including multi-factor authentication (MFA) to prevent unauthorized access.
- Role-Based Access Control: Restrict access to specific features and data based on user roles, preventing unnecessary exposure of sensitive information.
Performance Optimization
- Lazy Loading: To improve performance, the Admin AdminKit Template uses lazy loading for images and data-heavy elements. This ensures the page loads faster and doesn't overload users with unnecessary content.
- Caching: The template supports caching mechanisms to minimize server load and speed up response times, providing a smooth user experience.
- Responsive Elements: The responsive design ensures that the interface adapts seamlessly to different devices without performance degradation.
5. Support and Documentation
A comprehensive support system and detailed documentation are essential for making the most of the Admin AdminKit Template. The documentation typically includes:
Step-by-Step Guide
- A beginner-friendly tutorial explaining the installation and basic usage of the template.
- In-depth explanations of each feature and how to use it efficiently.
Code Examples and Customization Tips
- Practical code snippets and best practices for customizing the template and extending its functionality.
Support Channels
- If you encounter any issues, the template comes with links to support forums or customer service to get the assistance you need.
6. Conclusion
The Admin AdminKit Template is an excellent solution for developers and businesses looking for a powerful, flexible, and user-friendly admin dashboard template. With its customizable features, user management system, and robust data analytics, it can be easily tailored to suit a wide range of applications. Following the steps outlined in this guide, you can set up, customize, and optimize your Admin AdminKit experience for a smoother, more efficient administrative workflow.